A preschooler holding scissors for the first time is doing much more than making tiny paper scraps. They are learning to coordinate both hands, follow a visual path, control pressure, and persist through a task that may feel tricky at first. Thoughtful preschool scissor practice turns those first snips into a playful, confidence-building routine.
For parents, teachers, and homeschool families, the goal is not perfectly cut shapes right away. The goal is giving children safe, repeatable opportunities to build the hand strength and coordination they will use for writing, drawing, buttoning, and many everyday classroom tasks.
Why Preschool Scissor Practice Matters
Cutting is a valuable fine motor activity because it asks both hands to do different jobs at the same time. One hand opens and closes the scissors. The other hand holds and turns the paper. This two-handed coordination, sometimes called bilateral coordination, supports many early learning skills.
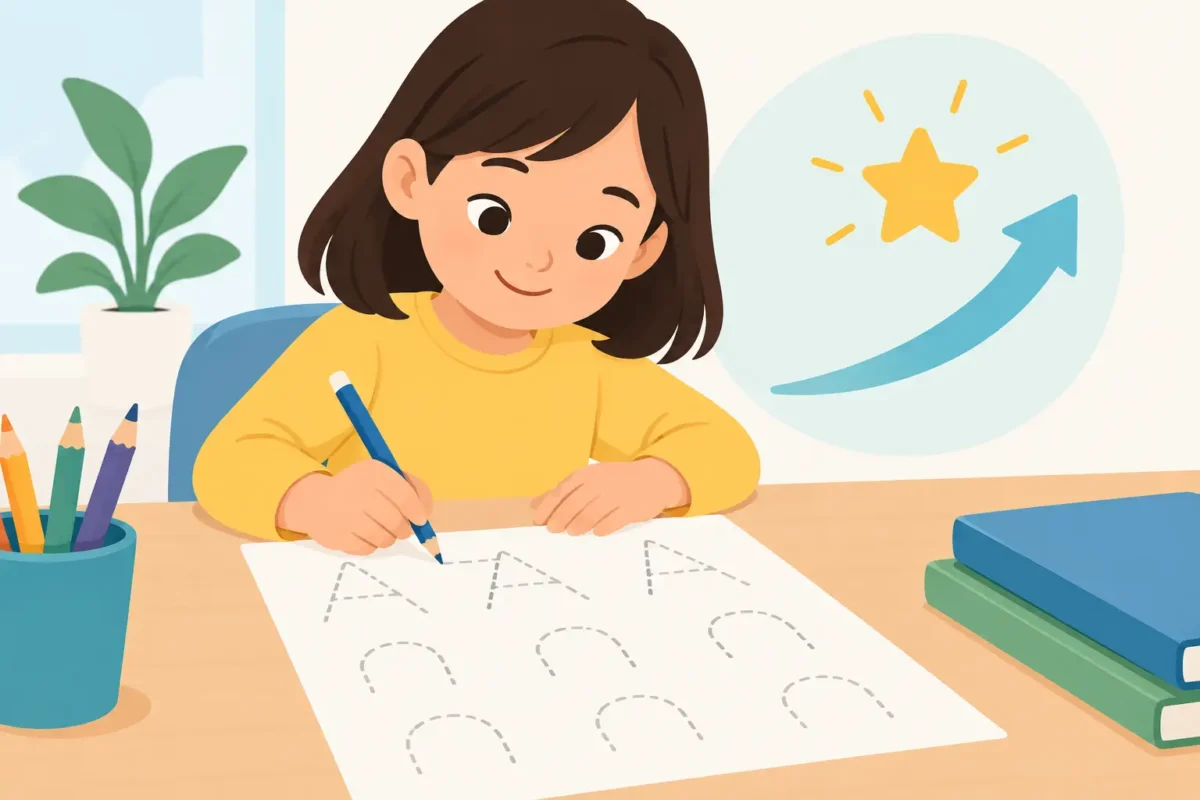
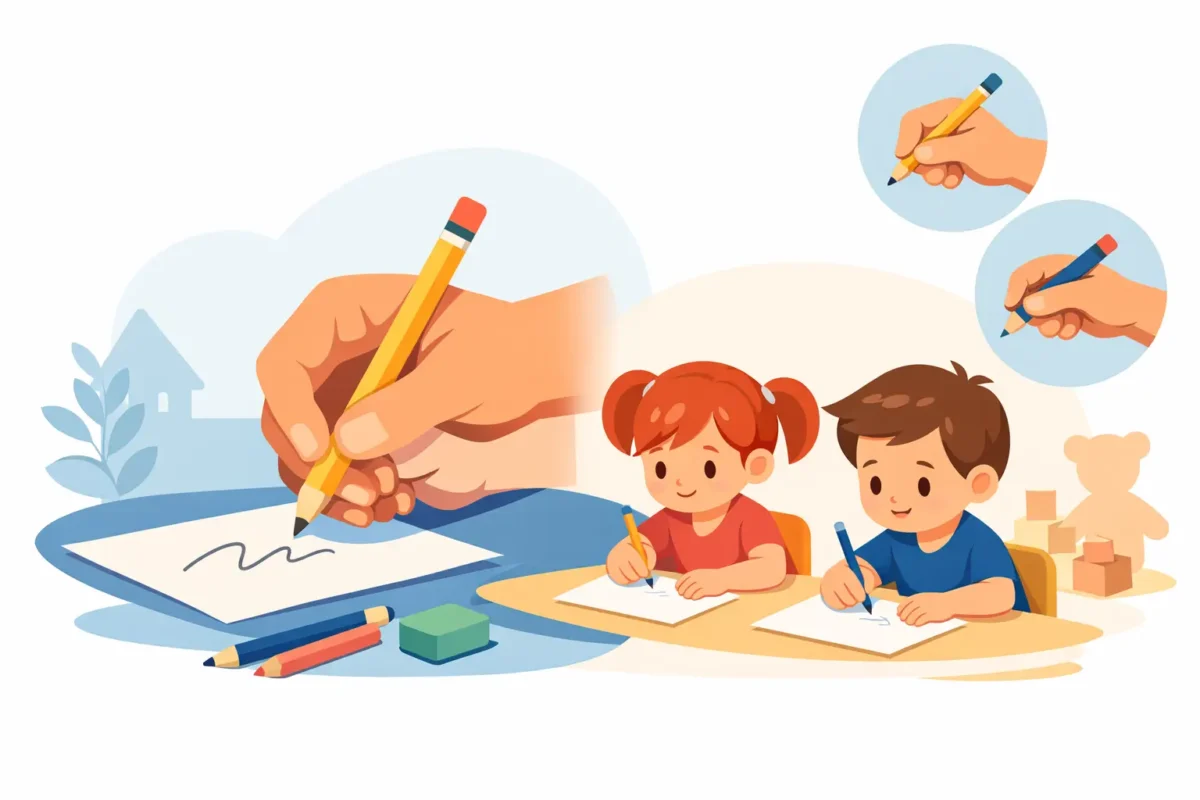
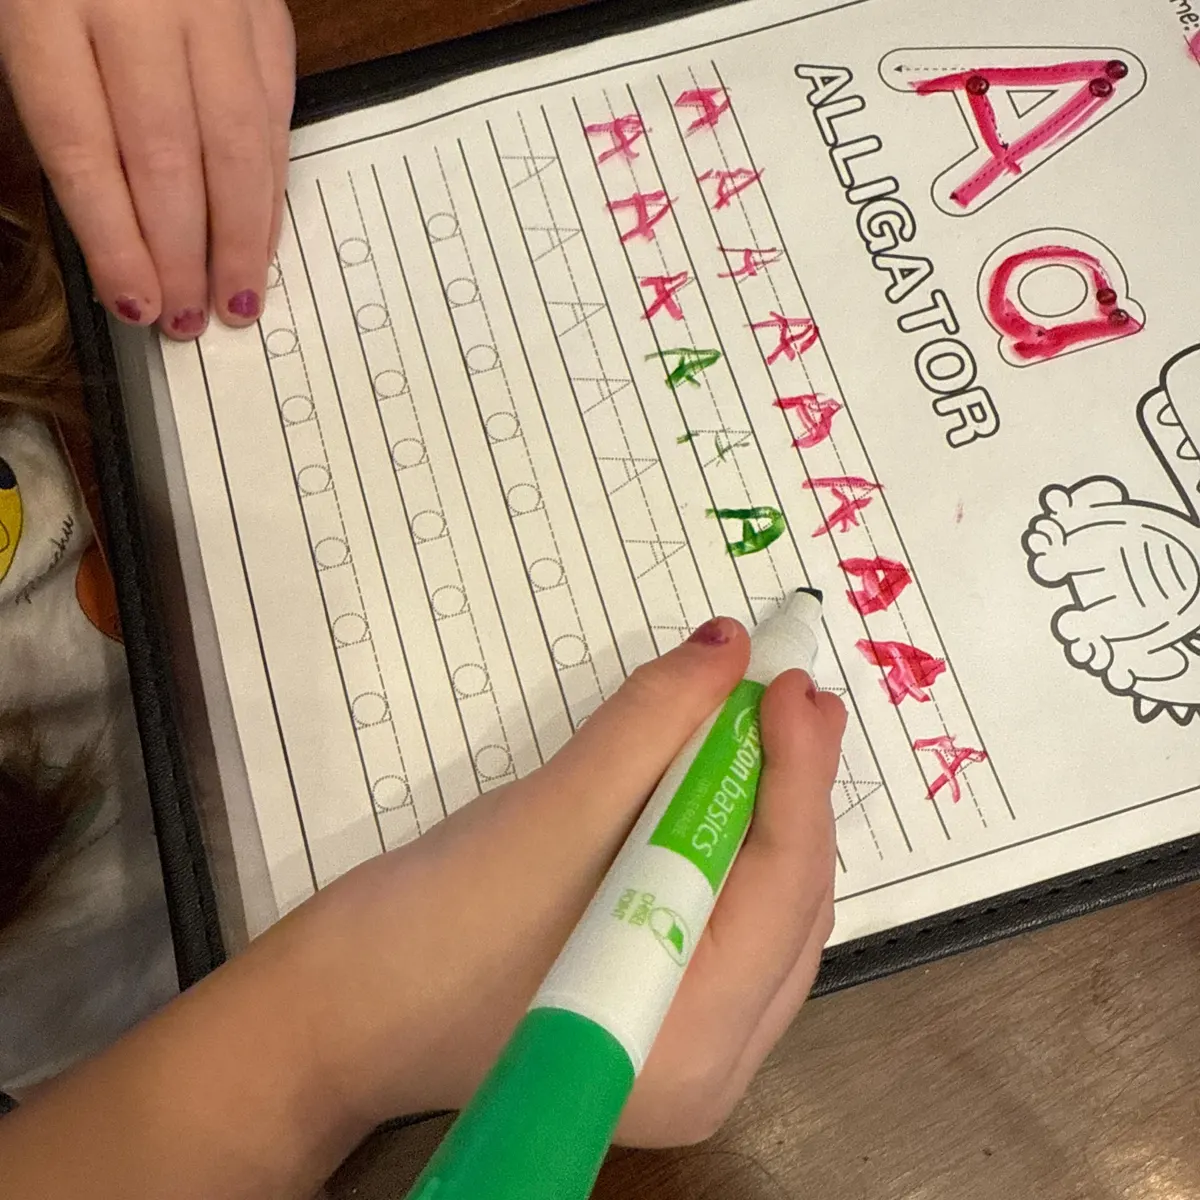
As children cut along a line, they also practice visual attention. Their eyes watch the path while their hands make small adjustments. That connection supports pencil control later on, especially when children begin tracing letters, forming shapes, and writing their names.
There is an emotional benefit, too. A page of straight lines can look simple to an adult, but finishing it gives a young child a clear win. With each successful snip, children learn that practice helps them do hard things. That is a lesson worth carrying into reading, handwriting, and early math.
Start When the Child Is Ready
Many preschoolers begin experimenting with child-safe scissors around age 3, but age alone does not determine readiness. Some children are ready sooner, while others need more time developing hand strength, attention, or confidence. A child who can use crayons with some control, squeeze play dough, and follow a brief direction may be ready for a short cutting activity.
Start with close adult supervision and scissors designed for young children. Look for blunt tips, an easy grip, and blades that can cut paper without requiring too much force. Right-handed and left-handed children may benefit from scissors made for their dominant hand. Forcing a left-handed child to use standard right-handed scissors can make cutting frustrating for no good reason.
Teach one simple safety rule before every activity: scissors are for cutting paper at the table. Children should carry scissors with the blades closed and pointed down, then return them to an adult or a storage spot when finished. Keep the tone calm and matter-of-fact. Safety instructions work best when they are short, consistent, and practiced often.
The Best Order for Scissor Practice
A gradual progression keeps cutting practice encouraging. Starting with detailed pictures or complicated curves too soon can leave children feeling unsuccessful. Instead, offer one small challenge at a time and let accuracy develop naturally.
Begin With Snipping
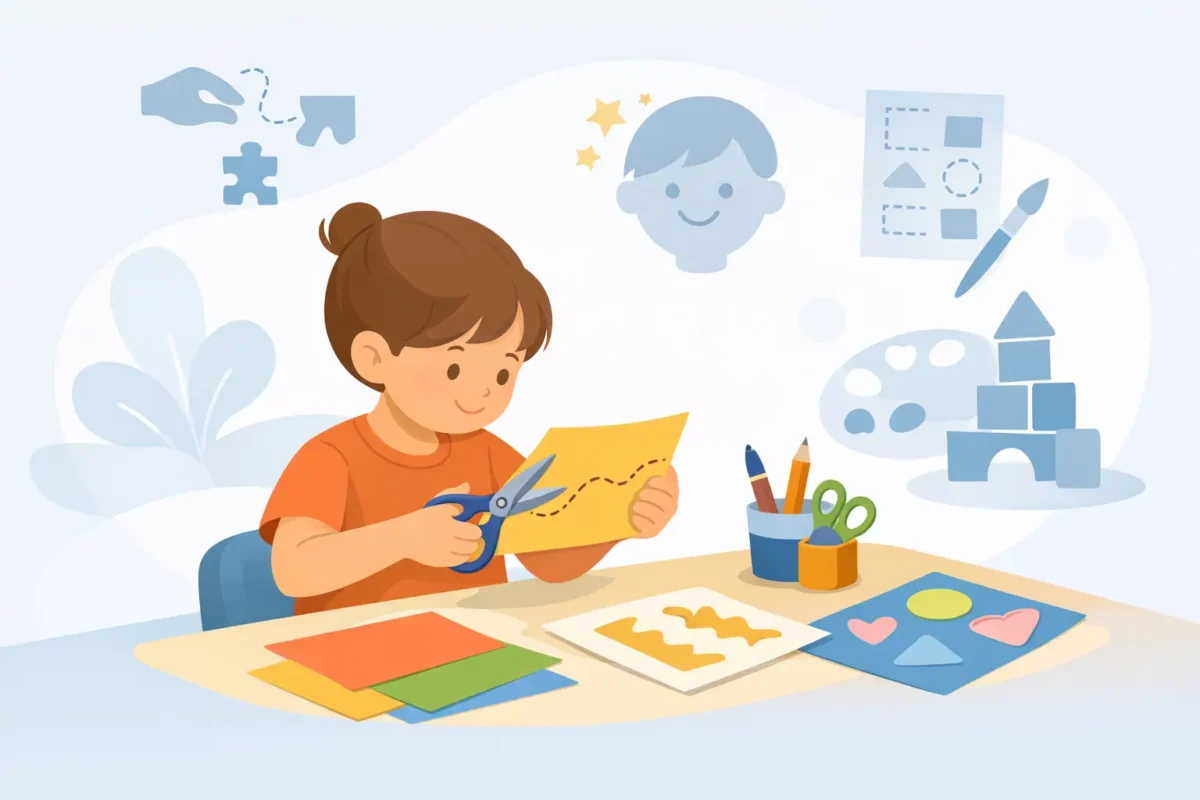
Before a child can cut across a page, they need to understand the open-and-close motion. Give them narrow strips of paper and invite them to make snips along one edge. Fringe cutting is a great first activity because every snip looks successful, even if the cuts are uneven.
Construction paper, index cards, and strips from old paper bags can be easier to manage than thin printer paper. Short strips also prevent the paper from bending and slipping as much.
Move to Straight Lines
Once a child can make repeated snips, draw or print thick, bold straight lines. A short line is easier than a full-page line, so begin with lines just a few inches long. Encourage the child to cut toward a dot, sticker, or small picture at the end of the path.
At this stage, adults may need to help position the paper. Show children how to place their thumb in the top scissor loop and turn the paper with their helping hand. Avoid taking over the cutting. A crooked line is useful practice, while an adult-cut line teaches very little.
Add Zigzags, Curves, and Simple Shapes
After straight lines feel comfortable, introduce gentle zigzags and wide curves. These paths require children to stop, turn the paper, and begin cutting again. Circles, squares, and basic animal outlines are fun next steps, but the lines should be thick and the shapes should be large.
Detailed worksheets have their place for kindergarteners and children with more experience. For a beginner, however, more detail is not more learning. It can simply create more frustration. Choose the level that lets the child work with focus and finish with pride.
Make Cutting Activities Feel Like Play
The best practice often has a purpose beyond “cut on the line.” A child may work longer when the cutting turns into a game, craft, or story. After cutting strips, they can glue them into a paper lion’s mane, a grass collage, or colorful rain. Cut-apart picture pieces can become a simple matching game, sequencing activity, or puzzle.
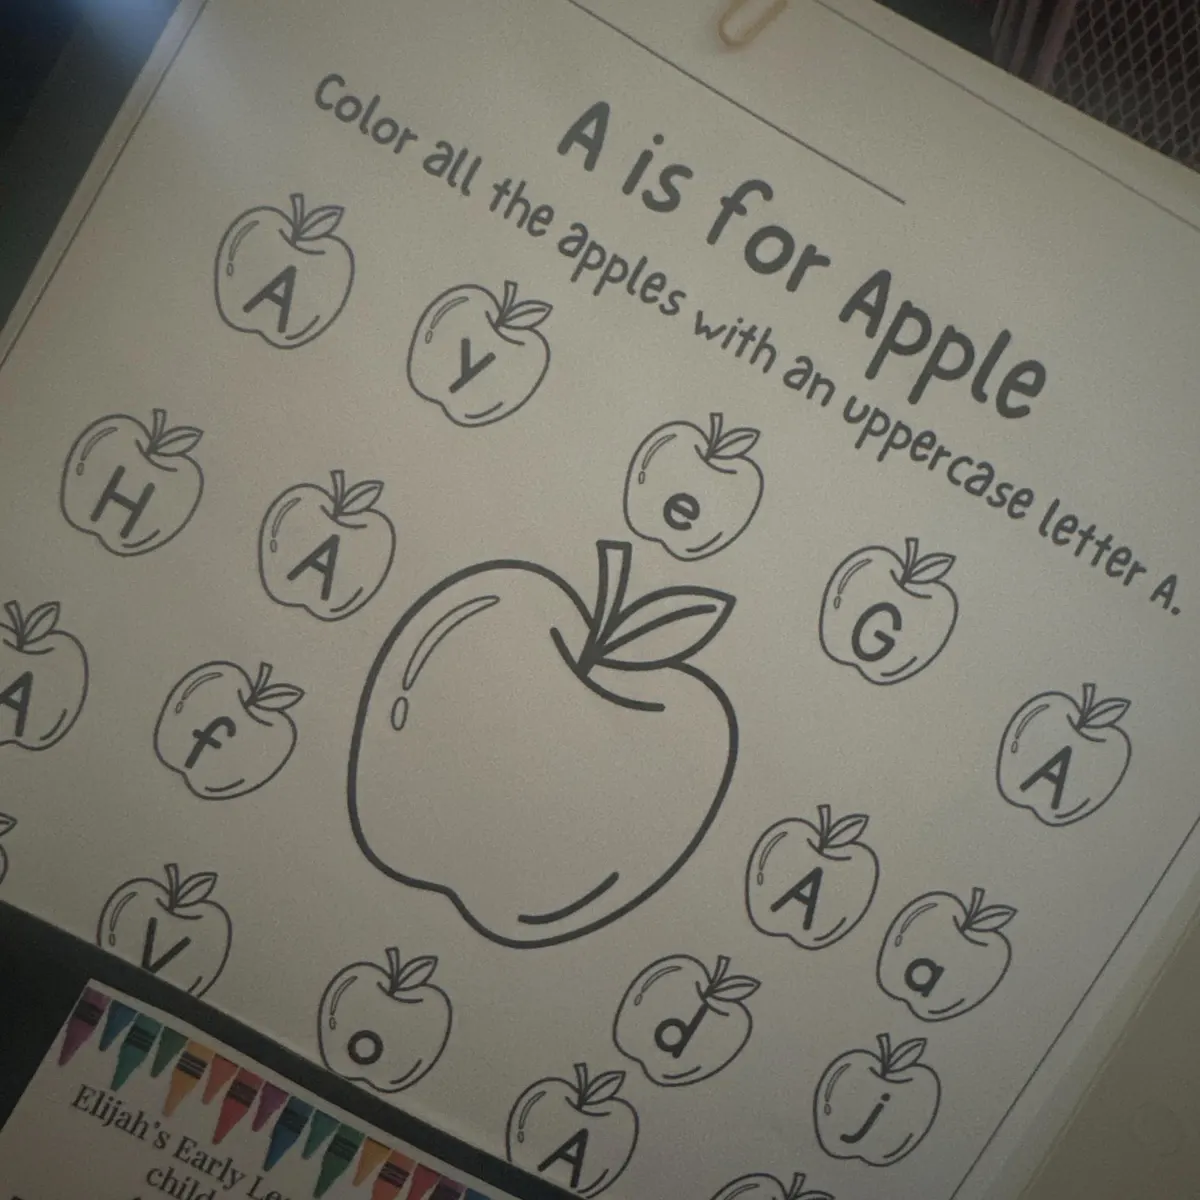
Seasonal themes can also refresh a familiar skill. Children might cut out apples for a counting mat, snowflakes for a winter display, or flower petals for a color activity. The cutting goal stays the same, but the finished project gives it new life.
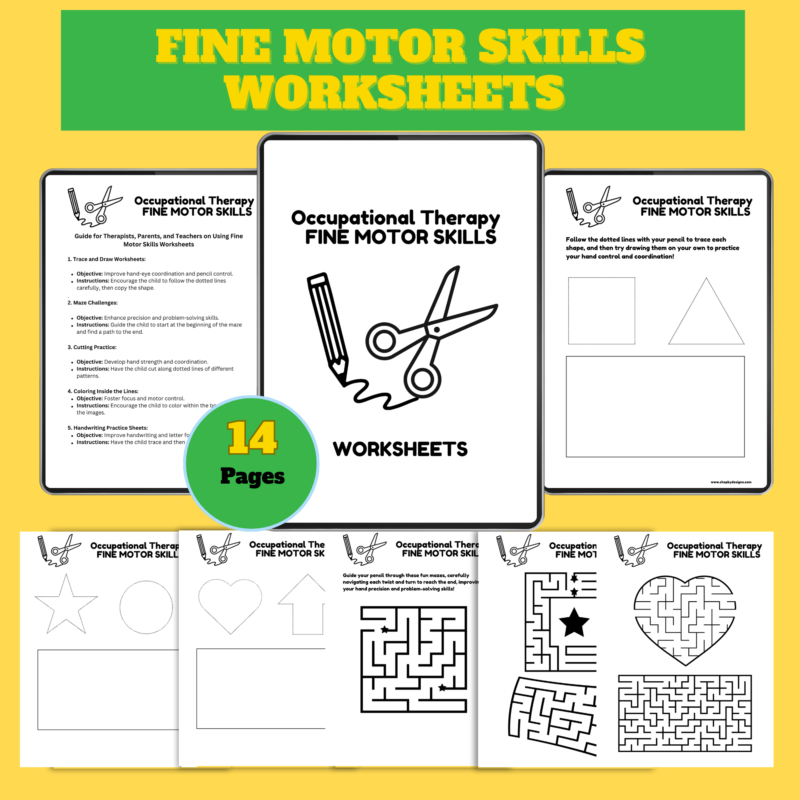
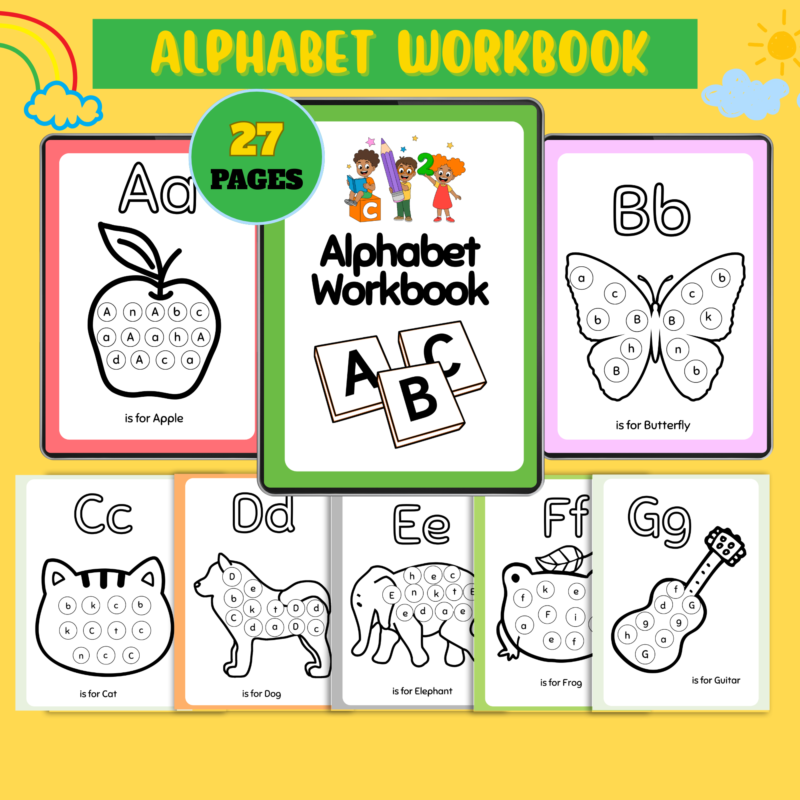
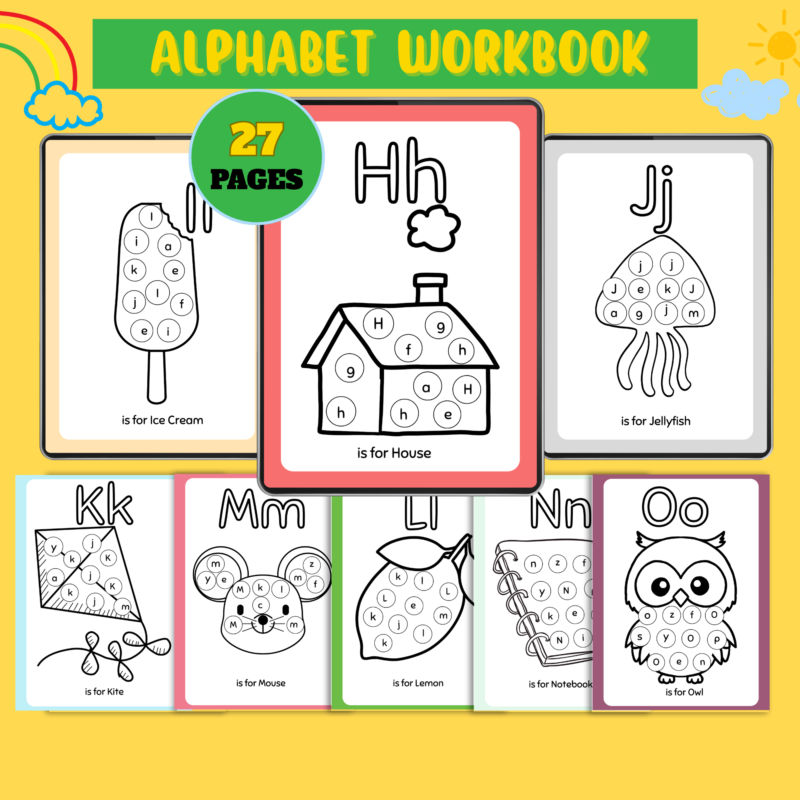
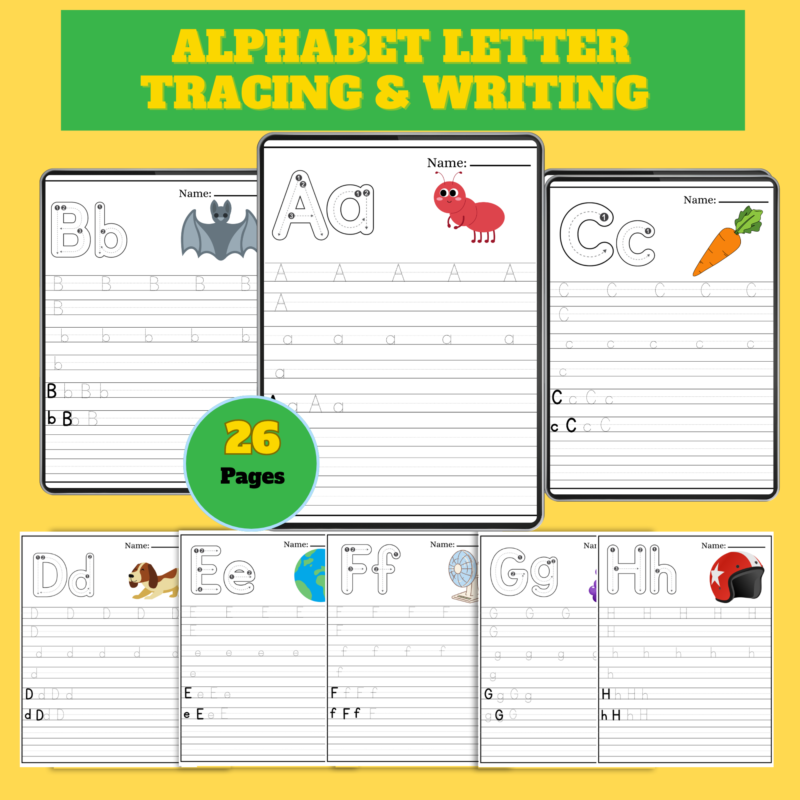
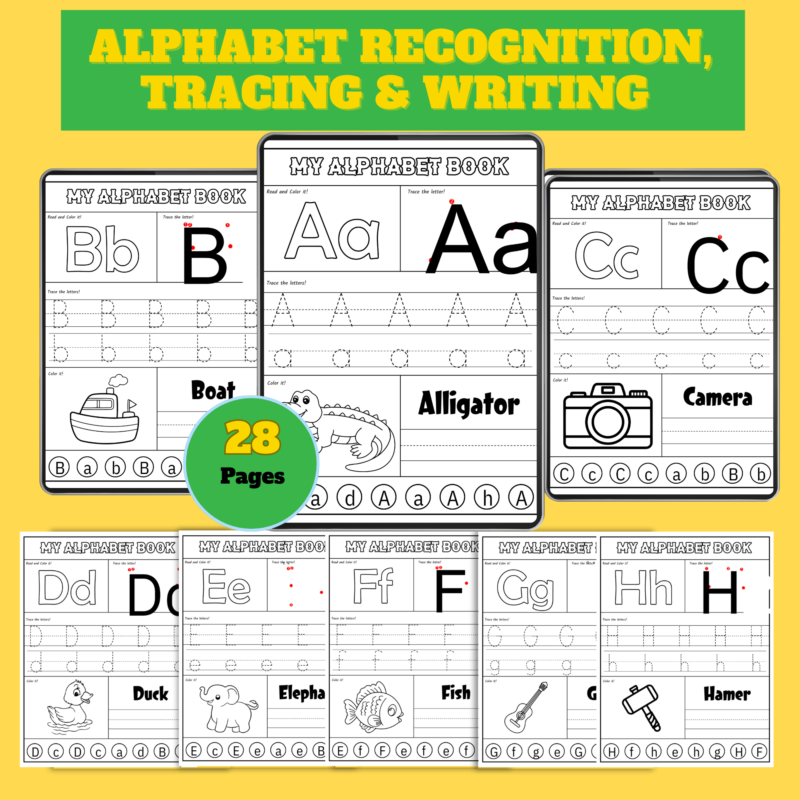
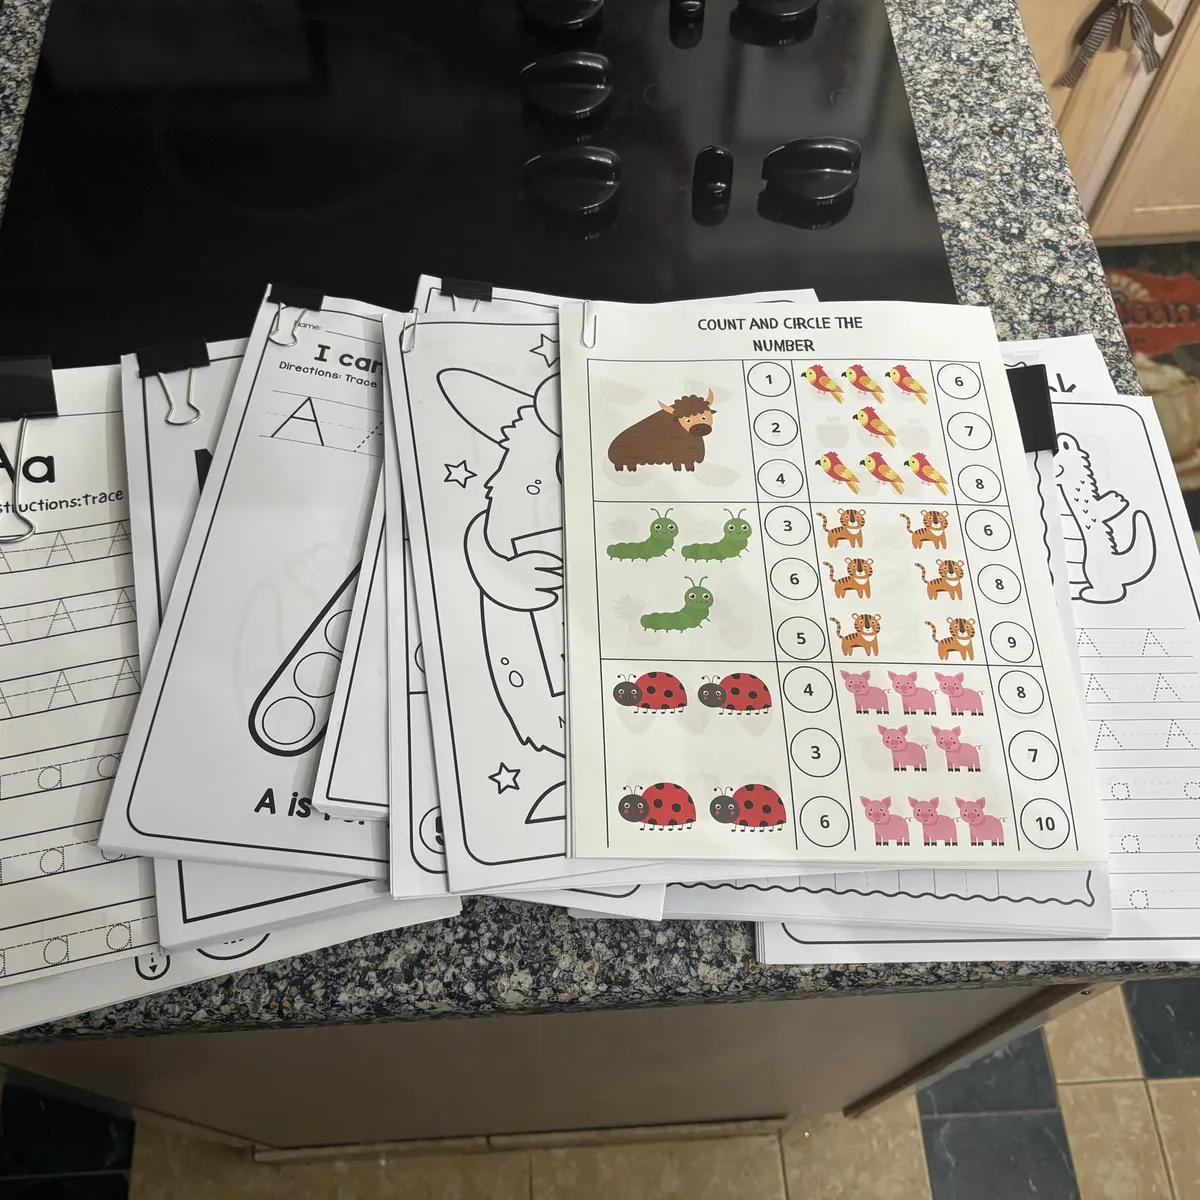
Printable cutting pages are especially helpful on busy days. A ready-to-use PDF gives children clear paths to follow and gives adults a no-prep activity that fits easily into a morning basket, learning center, quiet time, or small-group lesson. Fun Clever Fox printable fine motor activities can make it easy to offer structured practice without creating materials from scratch.
Set Up for Success at Home or in the Classroom
A comfortable setup makes a noticeable difference. Seat children at a table with their feet supported when possible. A stable body helps create stable hands. Place the paper directly in front of the child and limit distractions during early practice.
Keep sessions short. Five to ten focused minutes may be plenty for a preschooler, particularly at the beginning. It is better to end while a child still feels successful than to continue until their hands are tired and their attention is gone. Cutting can be offered again later in the week, allowing skills to grow through repetition rather than pressure.
In a classroom, consider placing cutting activities in a fine motor center with a small basket for scraps. A tray, shallow bin, or placemat helps contain the mess and makes cleanup part of the routine. At home, a paper plate or small container can serve the same purpose.
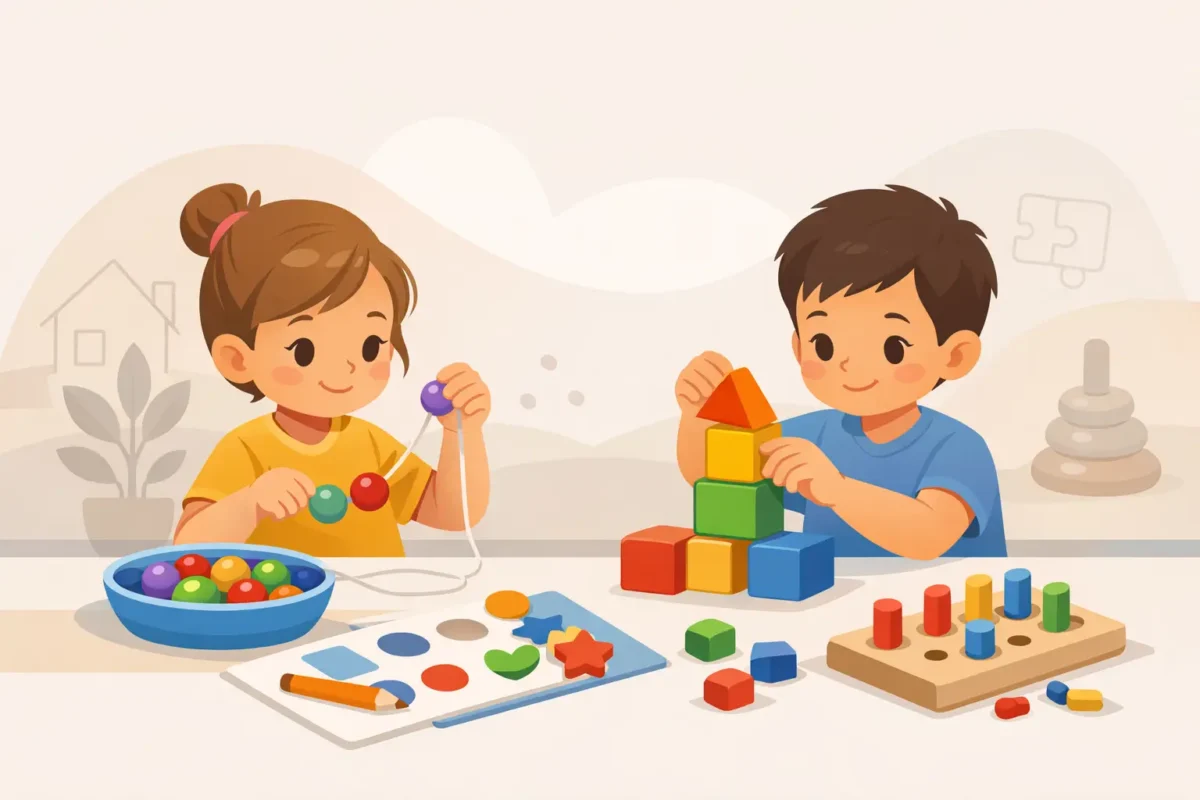
Children who struggle may benefit from a few simple adjustments. Use stiffer paper, shorten the cutting line, or hold the paper steady while they operate the scissors. Some children find spring-assist scissors helpful, though they should still be used with supervision. If a child strongly avoids cutting, begin with other hand-strengthening activities such as play dough, clothespins, stickers, tearing paper, and squeezing sponges. Then return to scissors without making the activity feel like a test.
What Progress Really Looks Like
Progress in preschool cutting does not always look like a neat finished shape. Watch for smaller changes: a child may hold the scissors more independently, keep the paper from twisting, make several snips in a row, or stay with the activity longer than before. Those are meaningful gains.
Praise effort with specific words. Instead of saying only “Good job,” try, “You kept your thumb on top,” or “You turned the paper to stay near the line.” Specific feedback helps children understand what they did well and what they can try again next time.
Resist comparing children to siblings, classmates, or a worksheet example. Fine motor development moves at different speeds. A child who needs extra support today may make a big leap after a few weeks of relaxed, regular practice.
When to Ask for More Support
It is normal for preschoolers to cut unevenly, tire quickly, or need reminders about hand placement. But if a child consistently cannot open and close the scissors, seems unusually distressed by cutting, or has difficulty using either hand for many fine motor tasks, it may be helpful to talk with their pediatrician or an occupational therapist. Early guidance can offer practical strategies tailored to the child.
A few strips of paper, safe scissors, and a cheerful invitation are enough to begin. Keep the activity light, celebrate every small improvement, and let those little snips add up to stronger hands and a more confident learner.