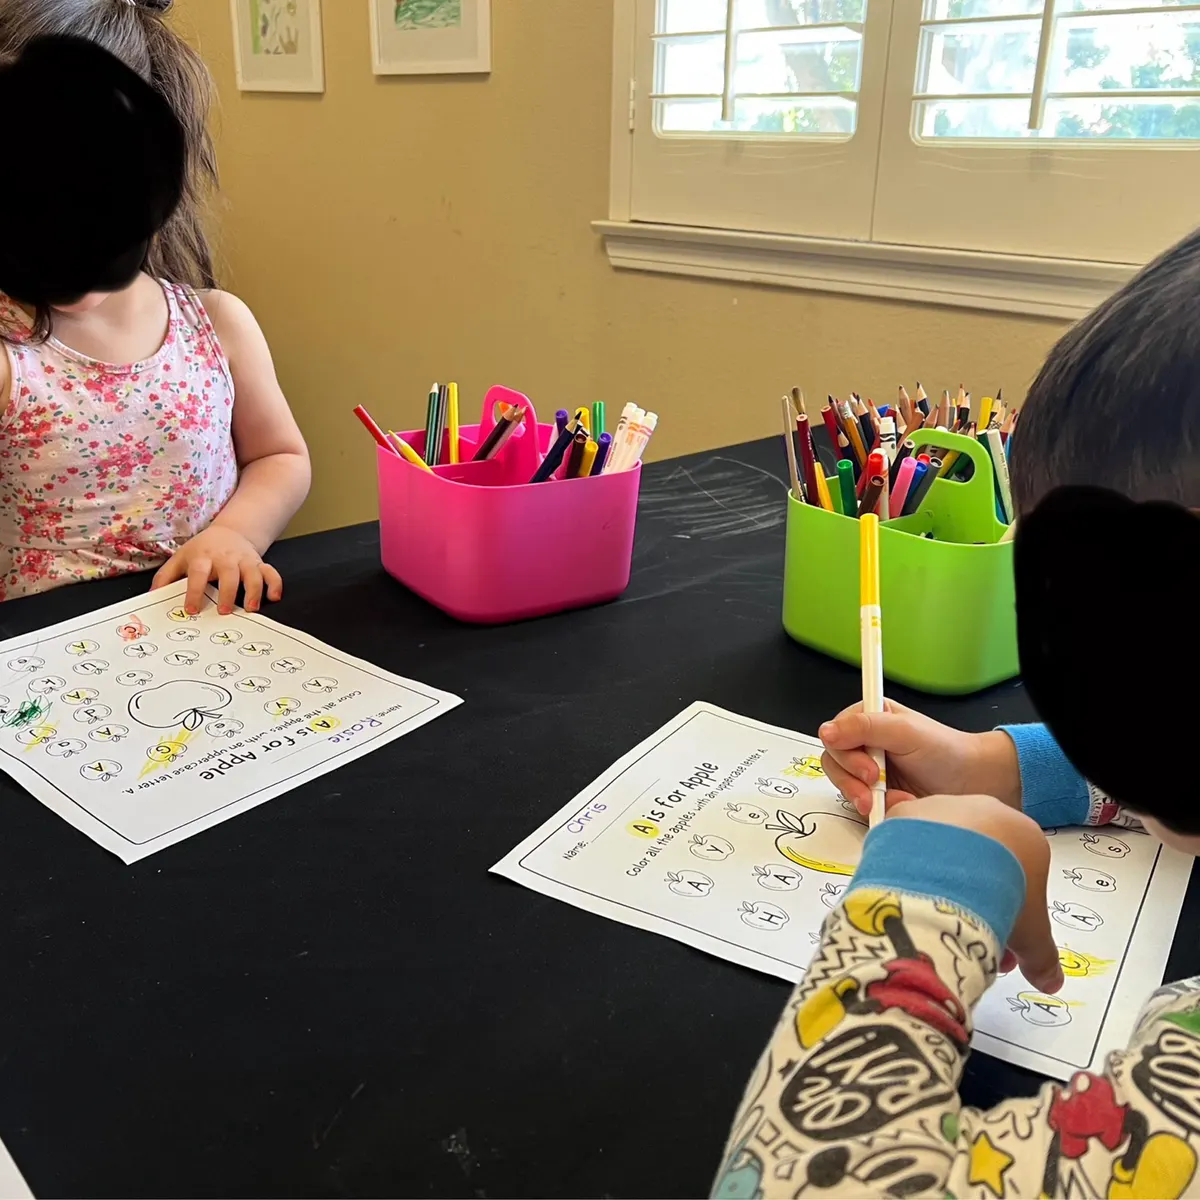
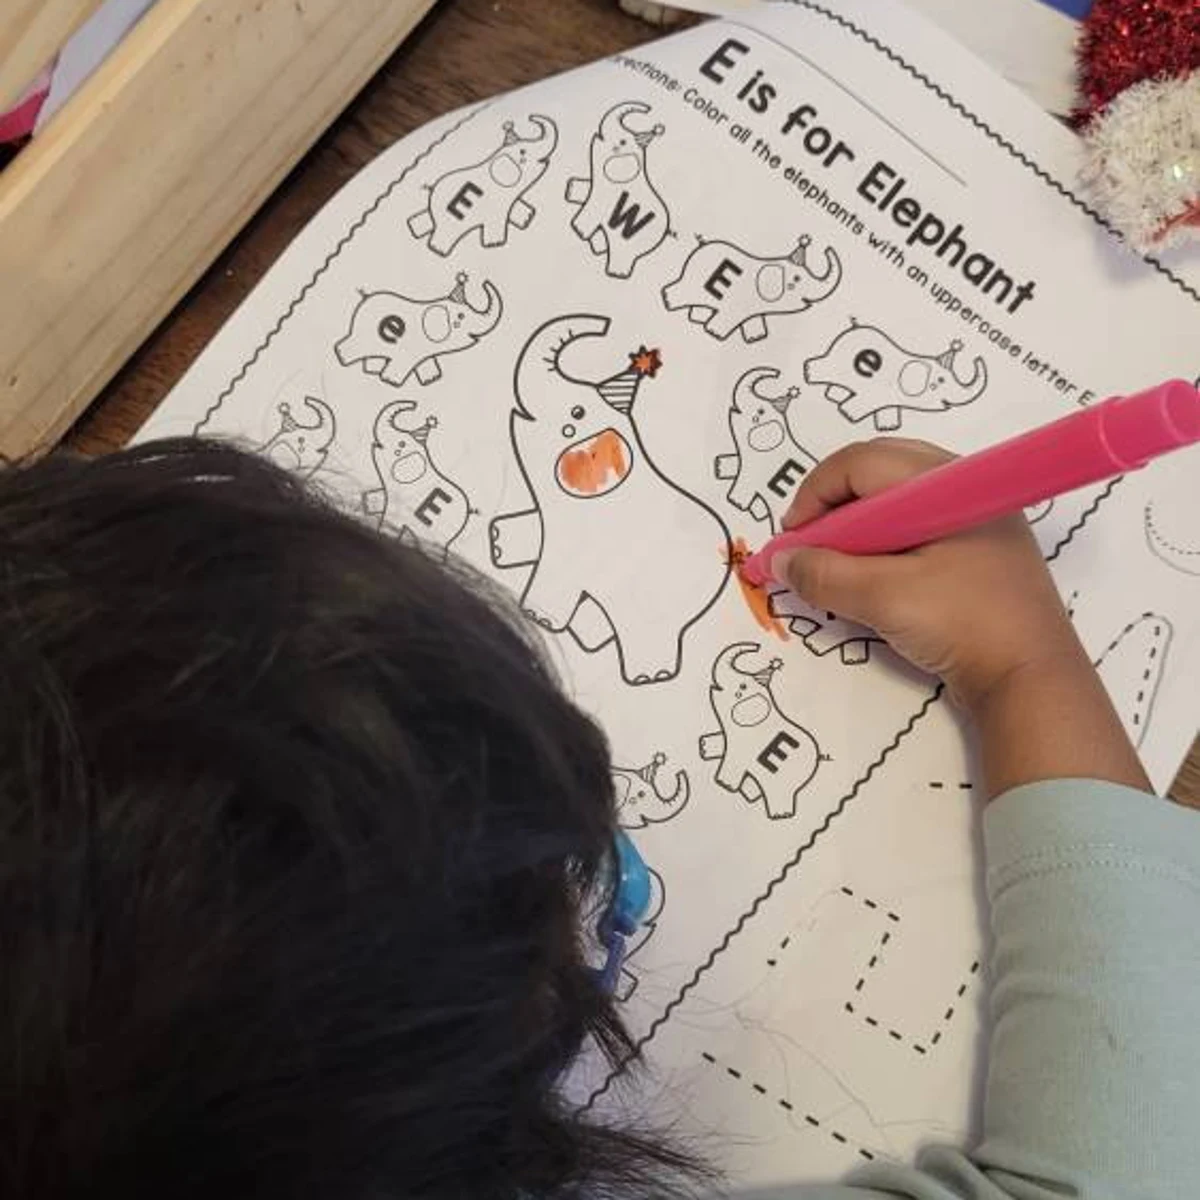
A child who knows every letter name may still hesitate when asked to write one. That is completely normal. Learning how to teach letter formation means helping children connect what they see, say, and hear with the movements their hands need to make. With short, playful practice and the right level of support, preschoolers and kindergarteners can build handwriting confidence without turning letter practice into a struggle.
Start With Readiness, Not Perfect Handwriting
Letter formation is a fine motor skill. Before children can comfortably make small, controlled marks on paper, they need growing hand strength, finger control, visual attention, and the ability to copy simple lines and shapes.
Look for early readiness skills such as drawing vertical and horizontal lines, making circles, tracing paths, using scissors, stacking small objects, and holding a crayon with increasing control. A child does not need a perfect pencil grip before beginning, but they do need a comfortable way to hold a writing tool and enough stamina for a few minutes of practice.
For many preschoolers, crayons, short pencils, chalk, and washable markers are easier to manage than a standard pencil. Short writing tools naturally encourage a more controlled grasp. If a child presses very hard, tires quickly, or avoids writing altogether, step back and add more fine motor play before expecting long worksheet sessions.
Teach Letter Formation in a Simple Order
Alphabetical order is familiar, but it is not always the easiest way to teach writing movements. Many letters share the same starting point and strokes, so grouping them by formation patterns can make practice feel more logical.
Begin with the letters built from straight lines: L, F, E, T, I, H, and A. Then introduce letters with curves, such as C, O, G, Q, S, and U. Finally, move to more detailed letters, including B, D, P, R, J, K, M, N, V, W, X, Y, and Z. This progression gives children repeated practice with similar movements instead of asking them to learn a completely new action every time.
It also helps to introduce lowercase letters once children are ready, rather than waiting until every uppercase letter is flawless. Lowercase letters are what children will see most often in books and early reading activities. Still, the best sequence depends on your child or class. A kindergarten student who is excited to write their name may be motivated to learn those letters first, even if the name includes a tricky letter like R or S.
Use Consistent Formation Language
Children learn faster when the directions stay short and predictable. Instead of saying, “Make it like this,” give each stroke a simple verbal cue they can repeat.
For example, you might say: “Start at the top, go down, lift, then across” for uppercase E. For lowercase c, try: “Start at the top, curve around, and stop.” The exact words matter less than consistency. Use the same cues each time the child practices that letter.
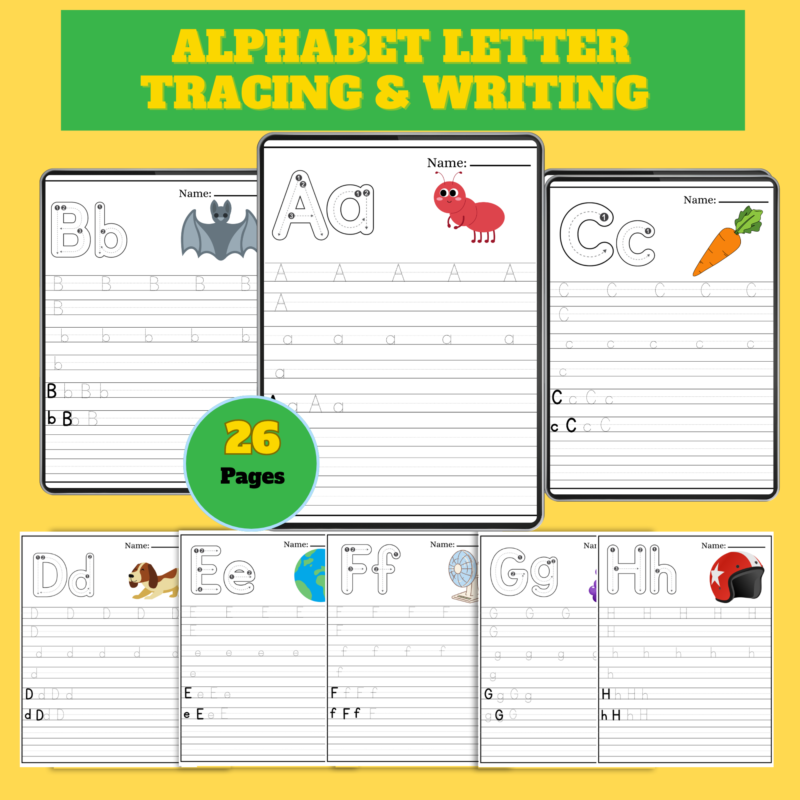
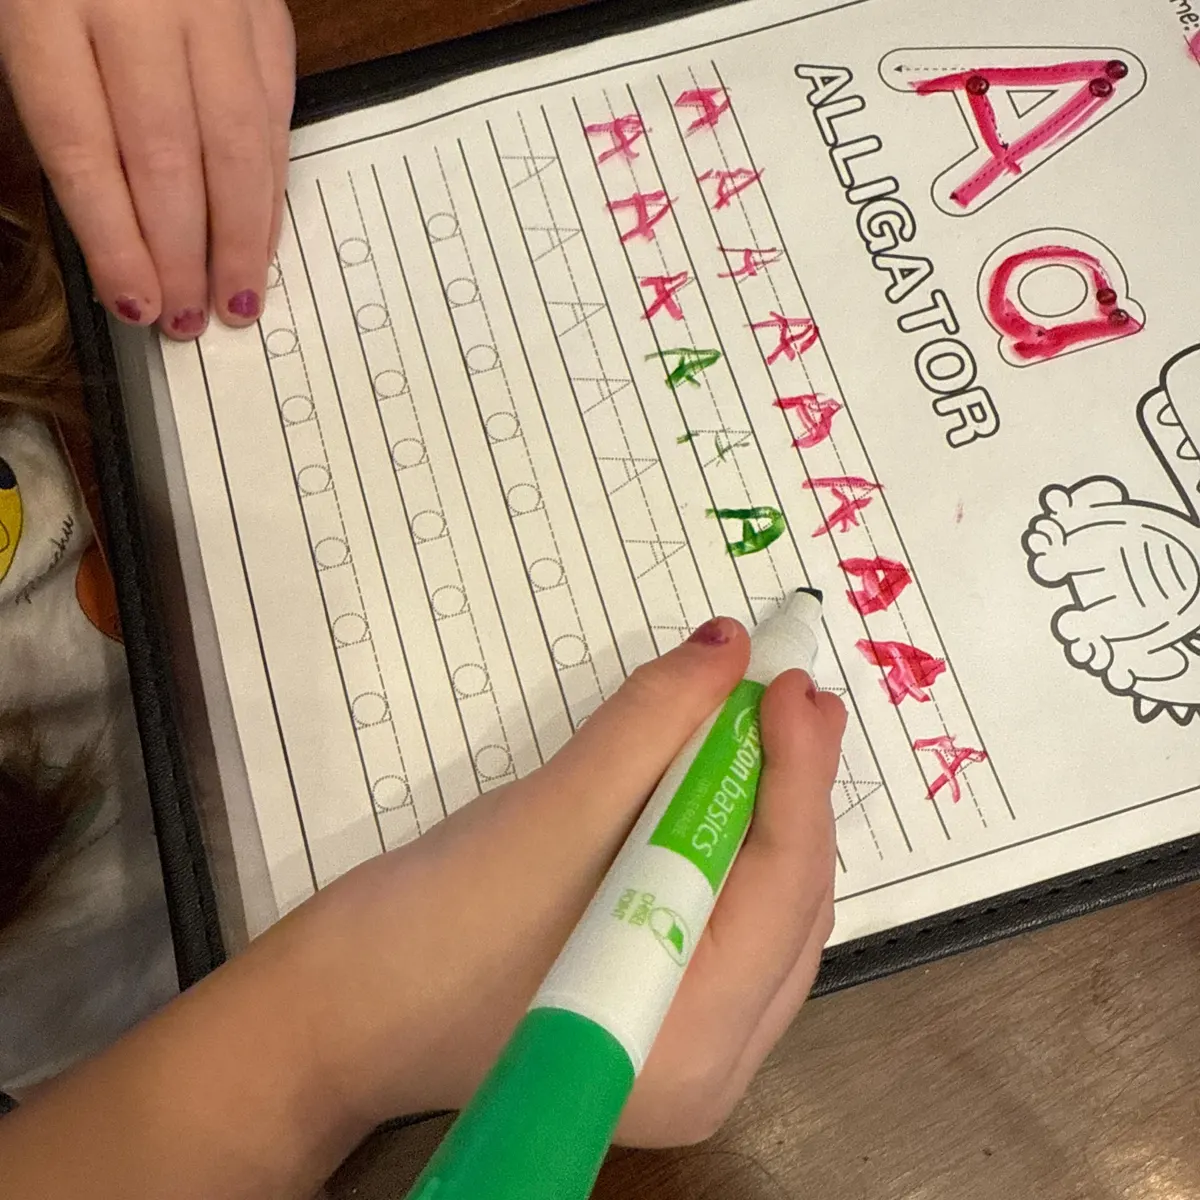
Showing the starting point is especially helpful. Young learners often begin letters at the bottom because that feels natural, but beginning at the top supports smoother writing habits later. Use a dot, star, or small green circle to show “start here.” You can also add a red dot or stop sign to show where the letter ends.
When demonstrating, sit beside the child when possible. This lets them see the movement in the same direction they will make it. If you face them across a table, the letter can look reversed.
Move From Big Movements to Small Marks
Before expecting neat letters on lined paper, let children form letters with their whole bodies and hands. Large movements make it easier to understand the pathway of each letter without worrying about tiny details.
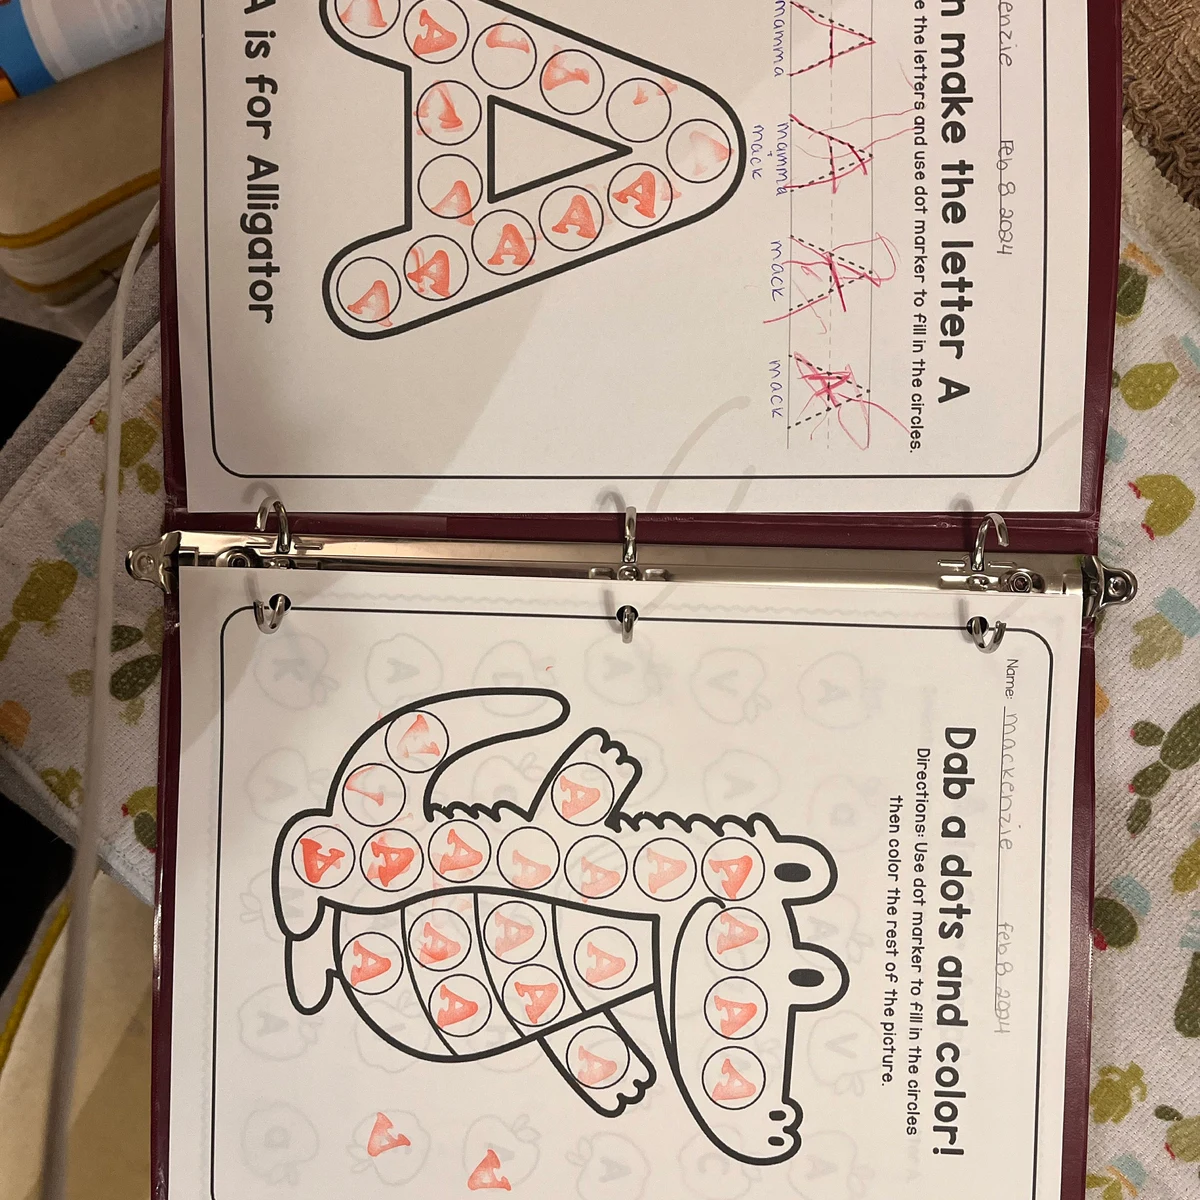
Try writing letters in the air with one finger, drawing them on a whiteboard, making them in sand or shaving cream, or building them with play dough snakes. Sidewalk chalk, finger paint, and magnetic boards can all turn repetition into a hands-on activity. These activities are not just fun extras. They help children feel the direction, curves, and stopping points that make up each letter.
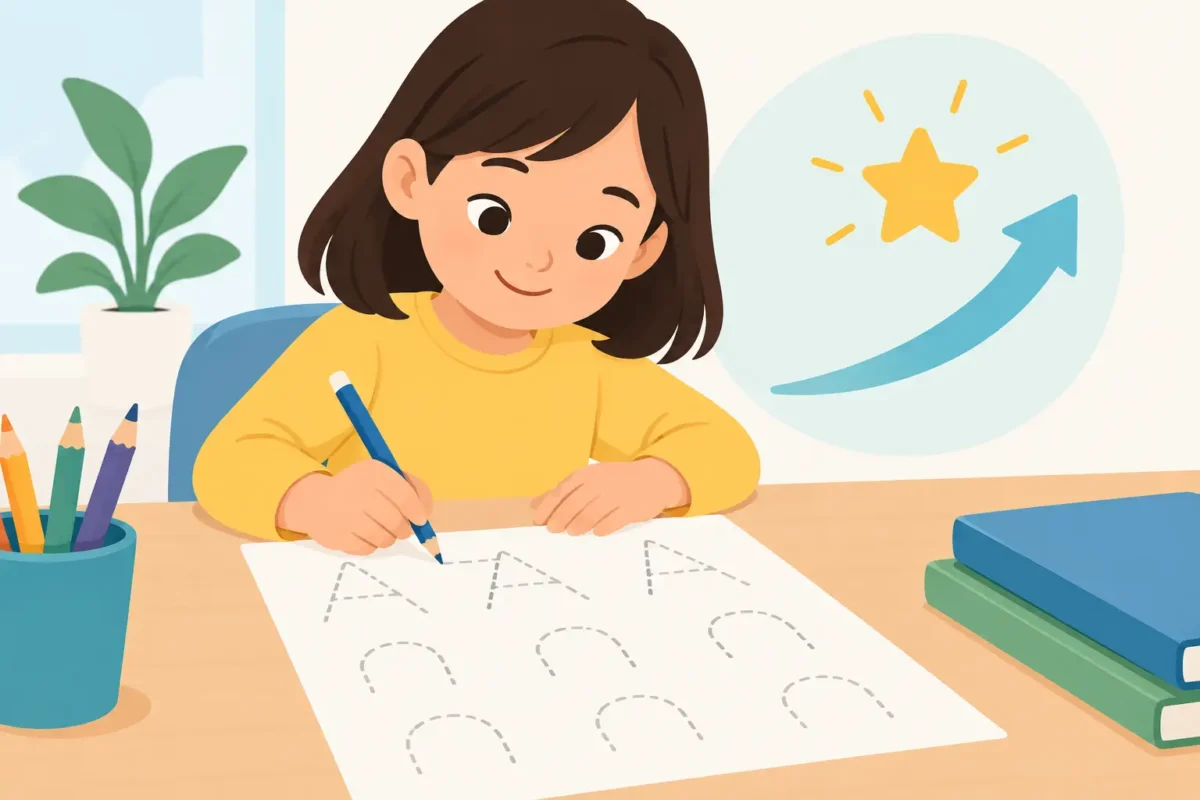
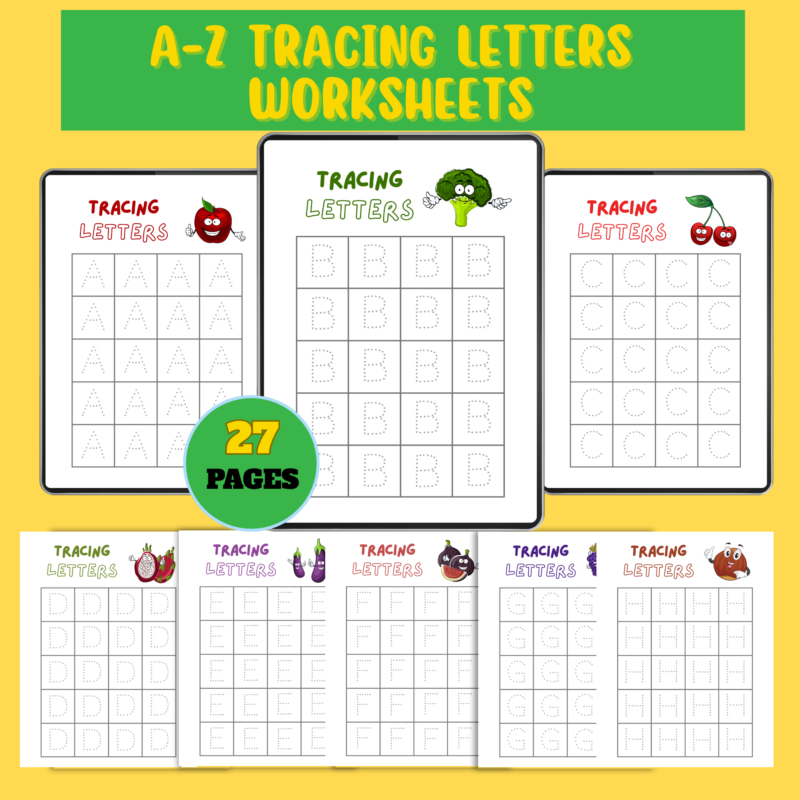
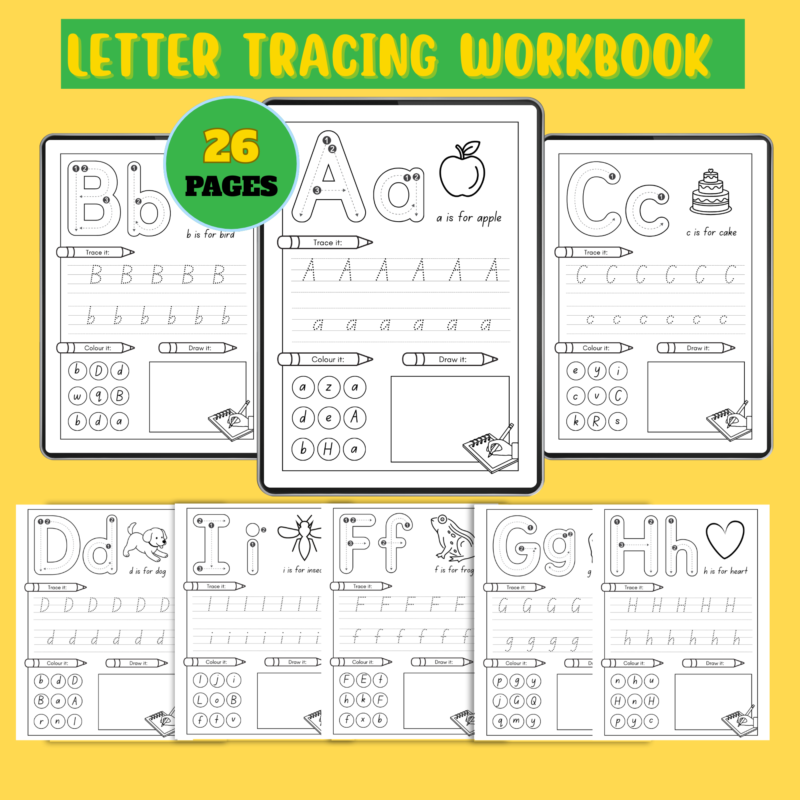
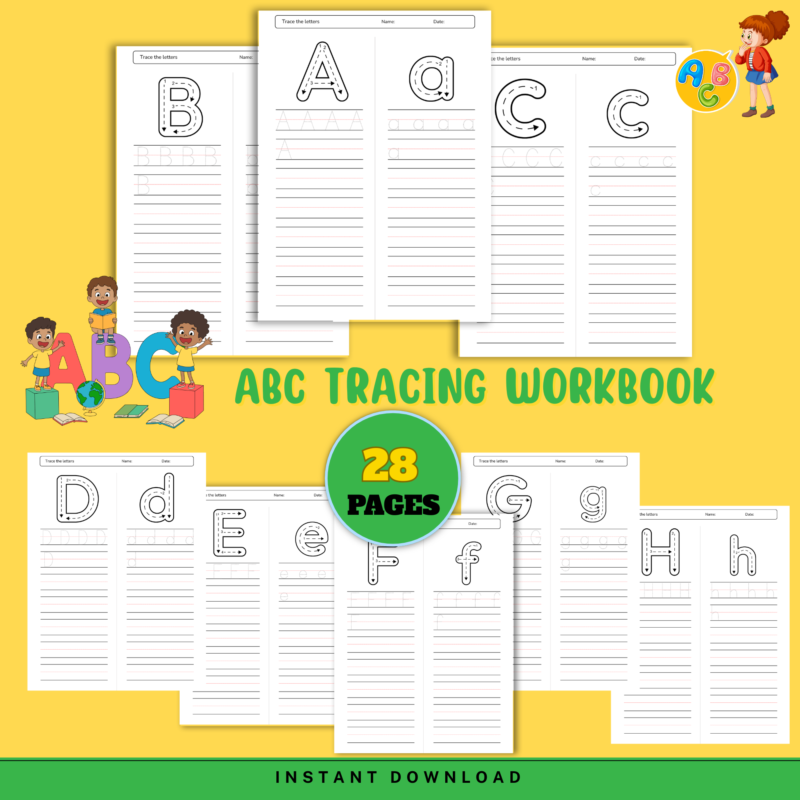
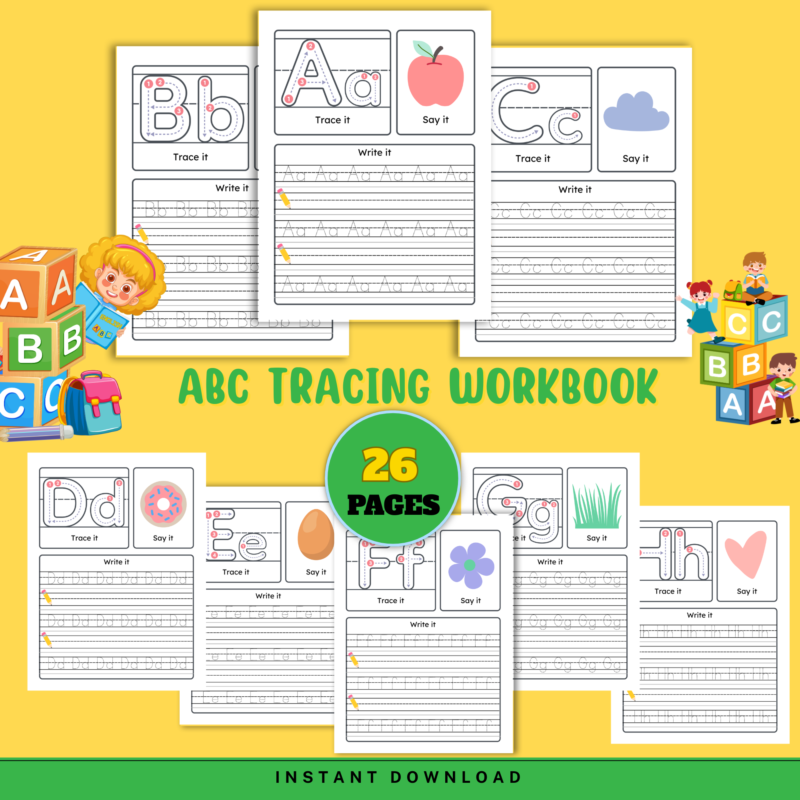
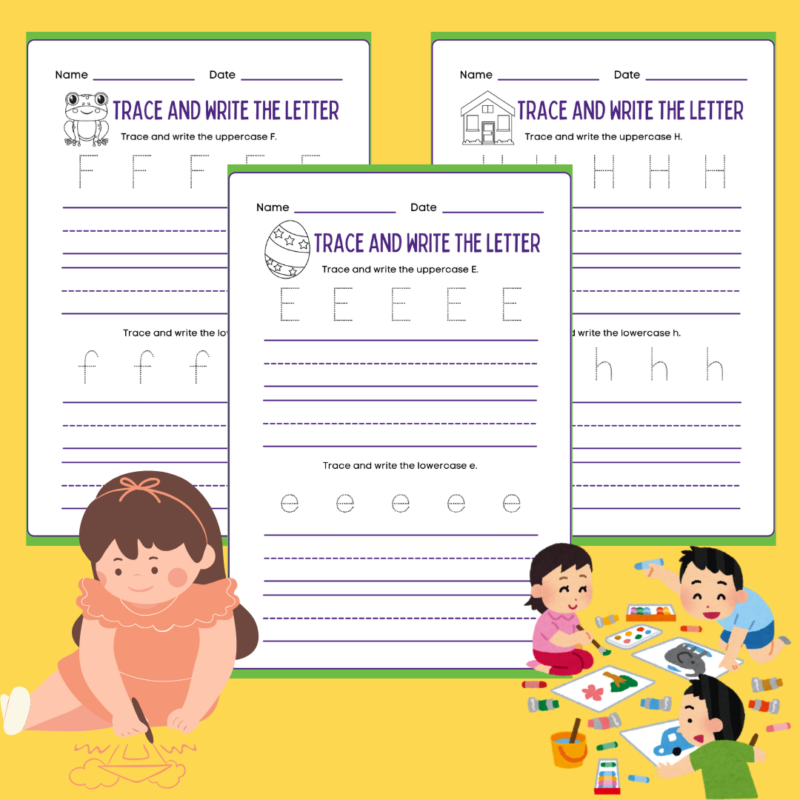
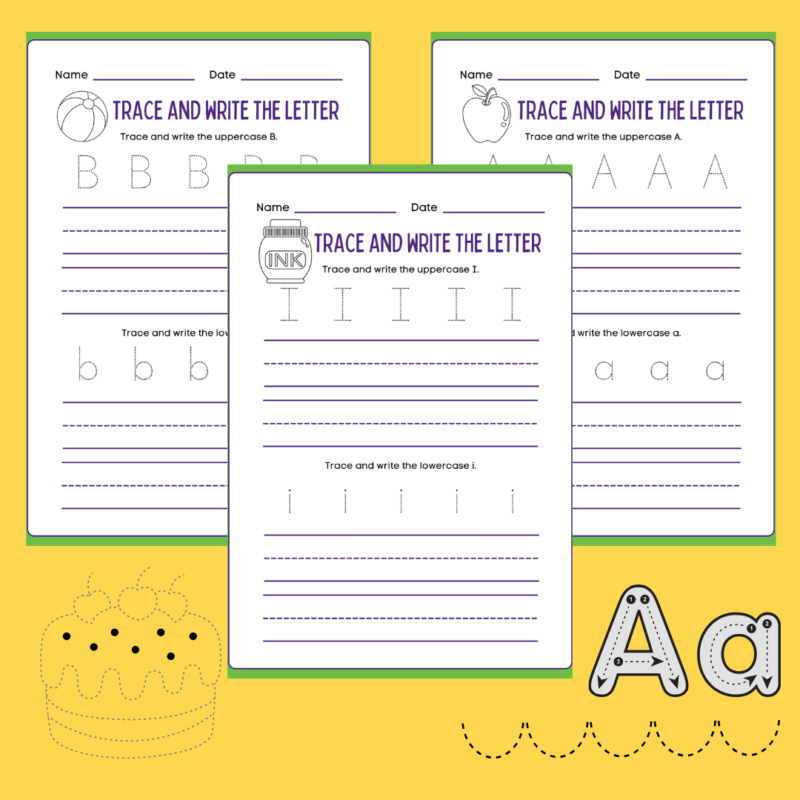
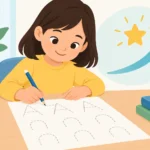
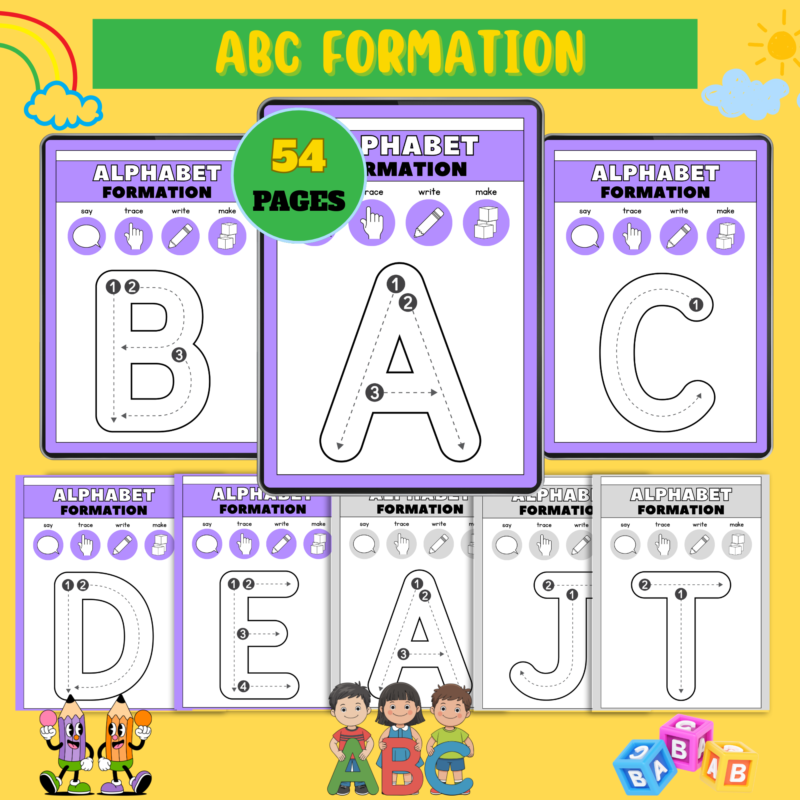
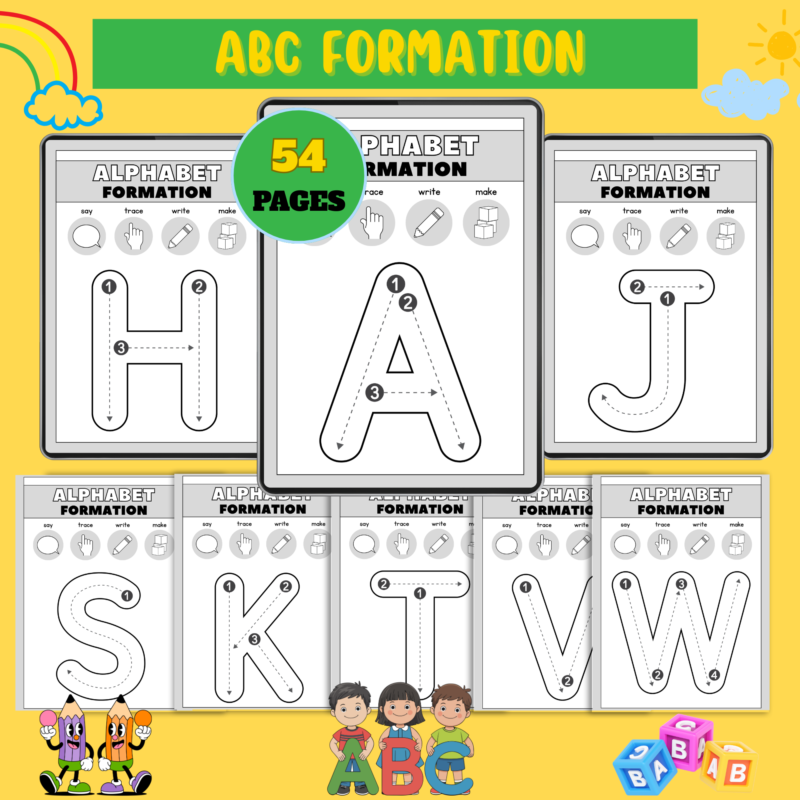
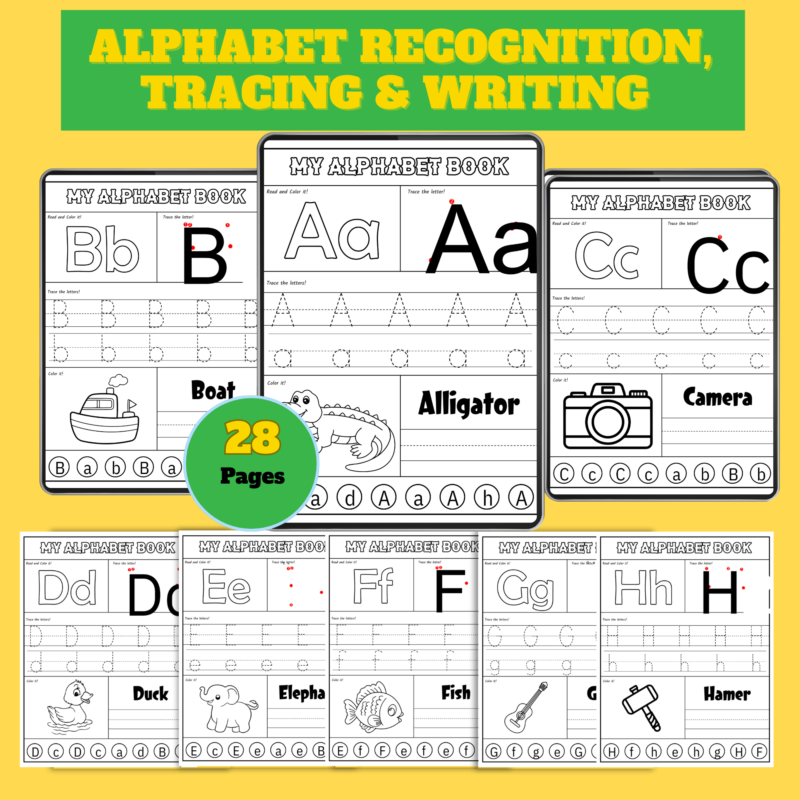
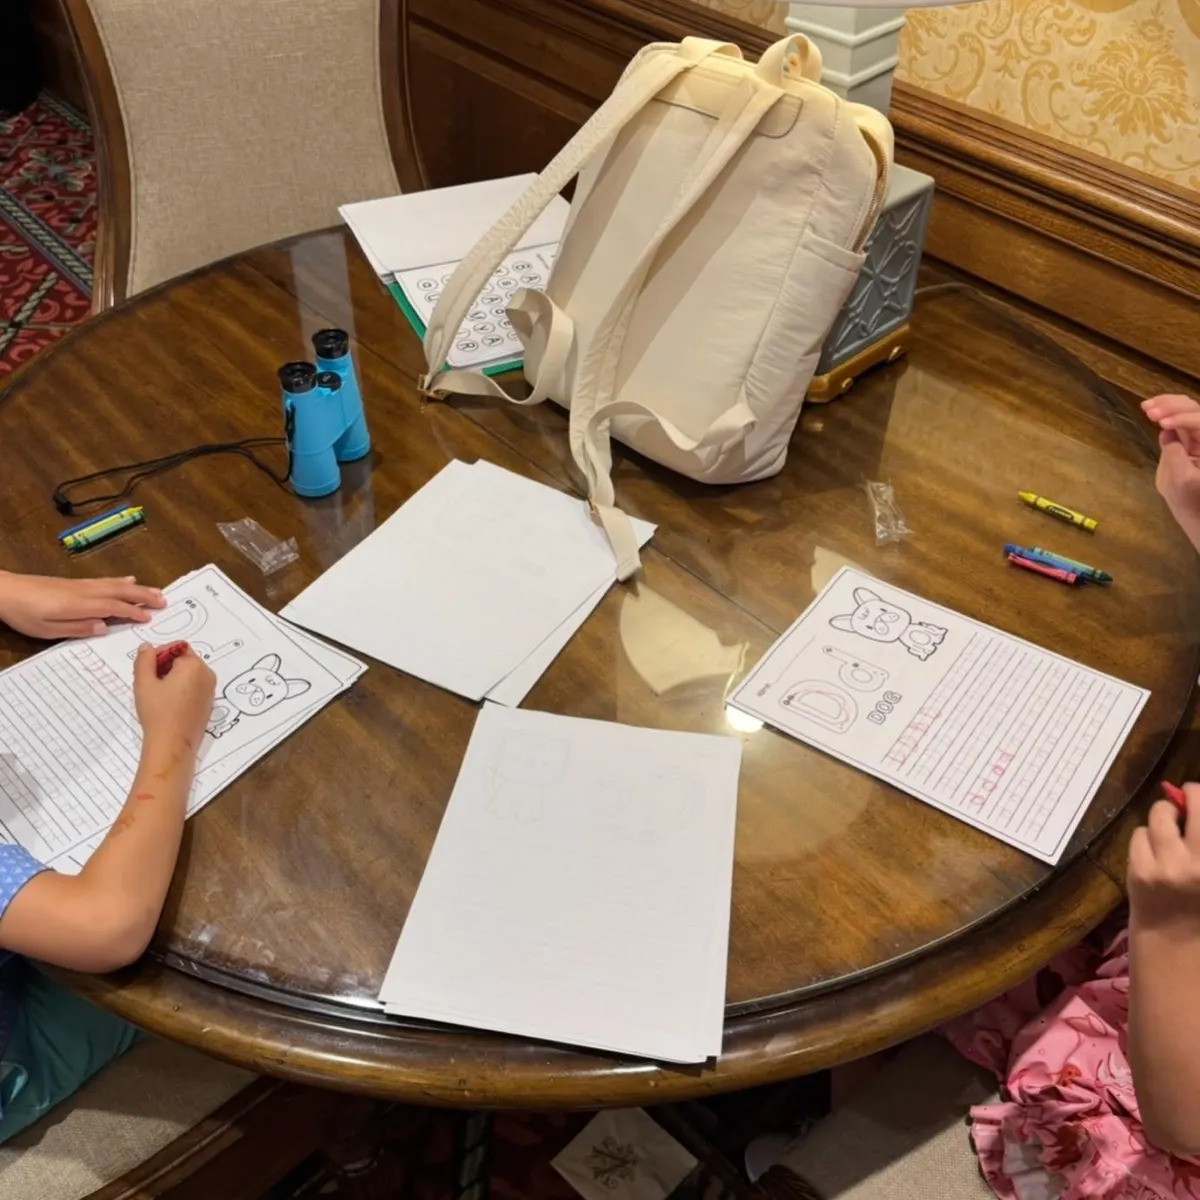
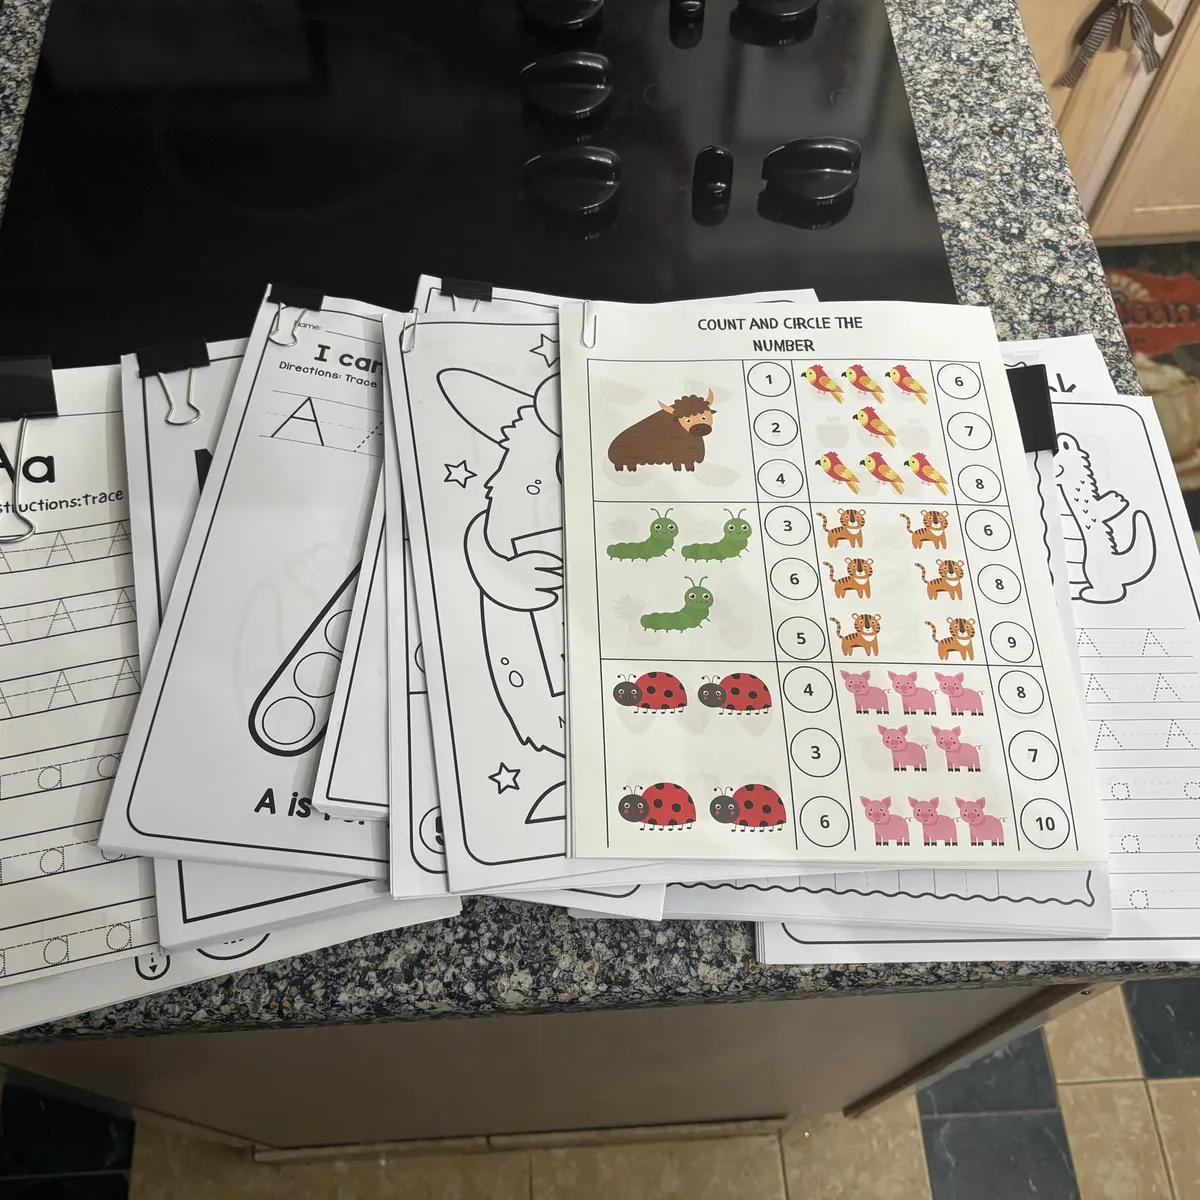
Once a child understands the movement, move into tracing. Start with large, clear letter outlines and directional arrows. Then offer guided tracing with dotted lines. After that, give the child a model letter at the beginning of a row and space to write independently.
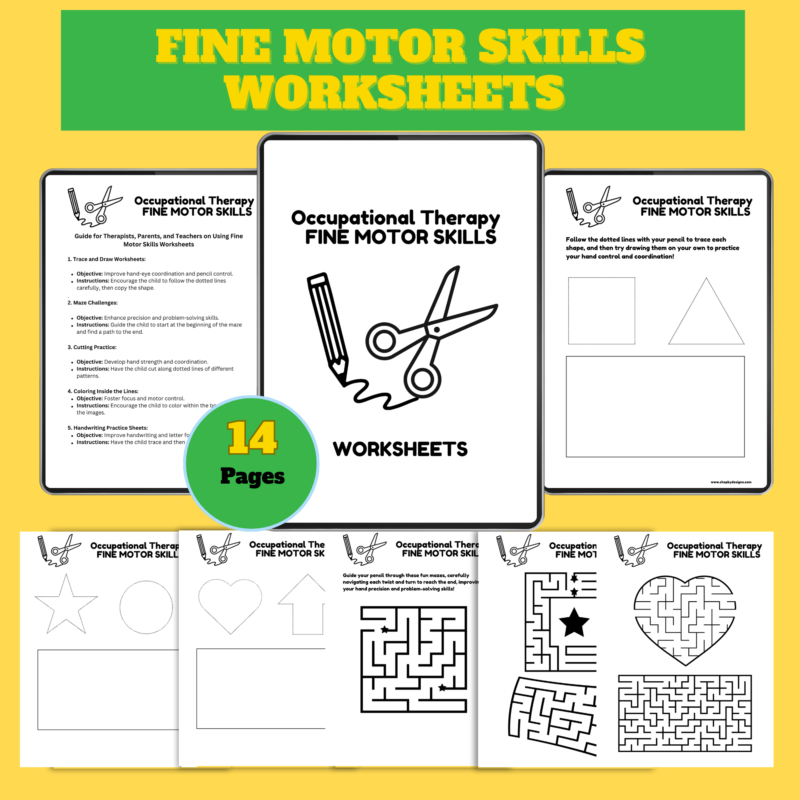
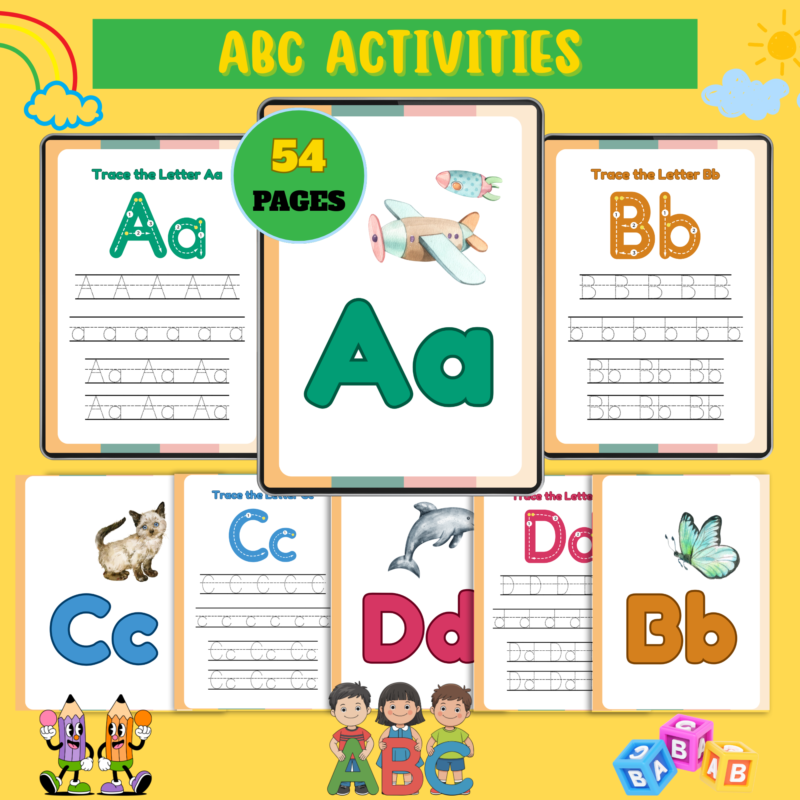
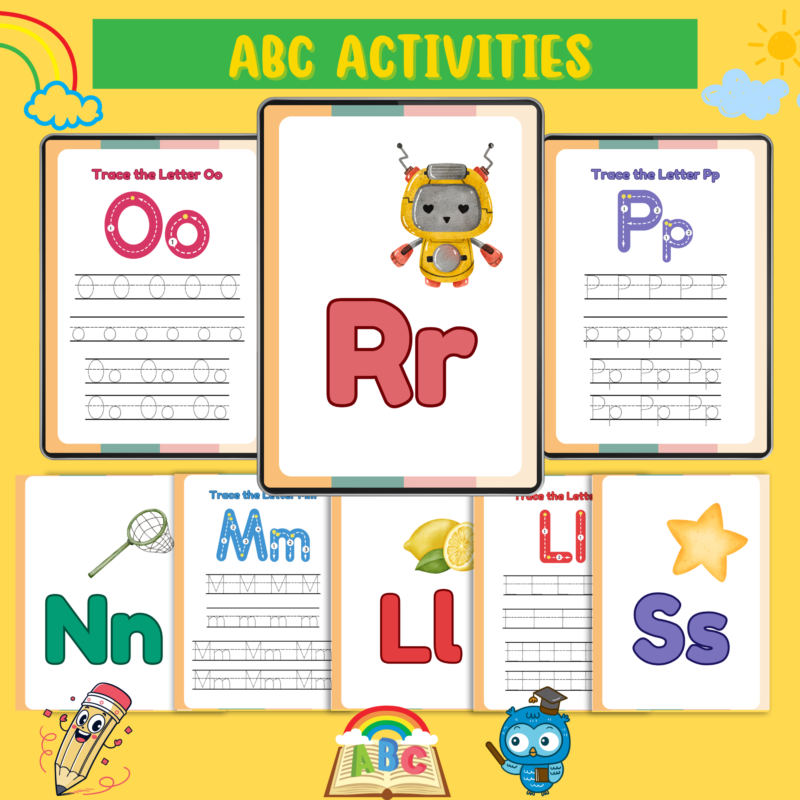
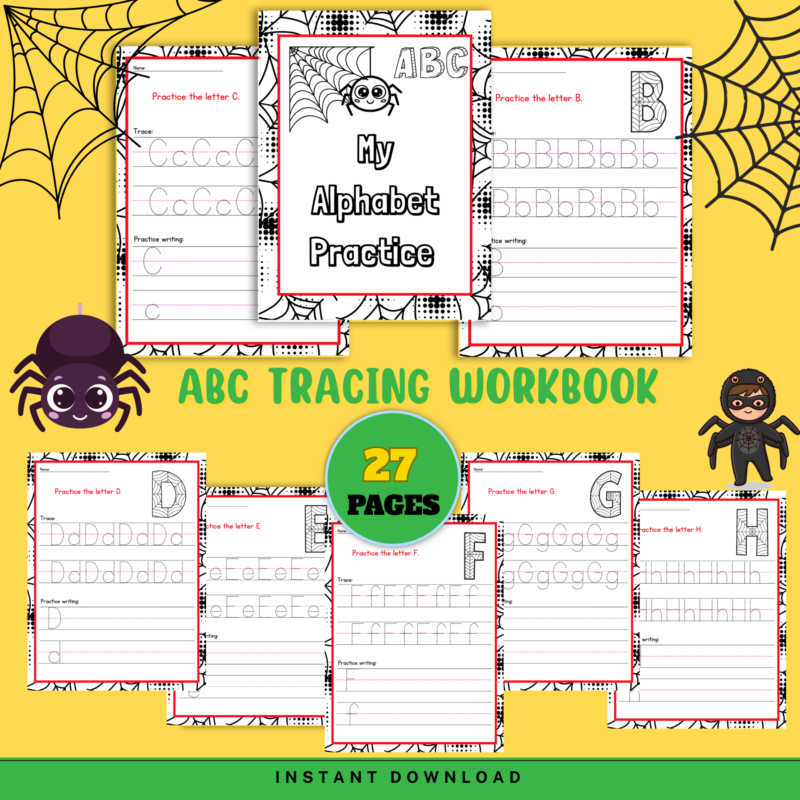
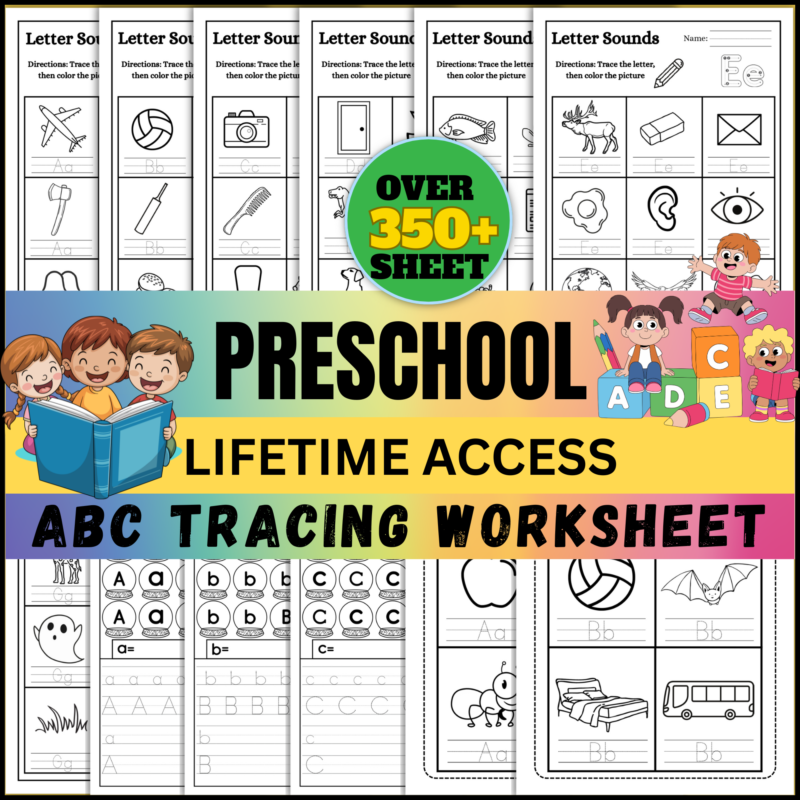
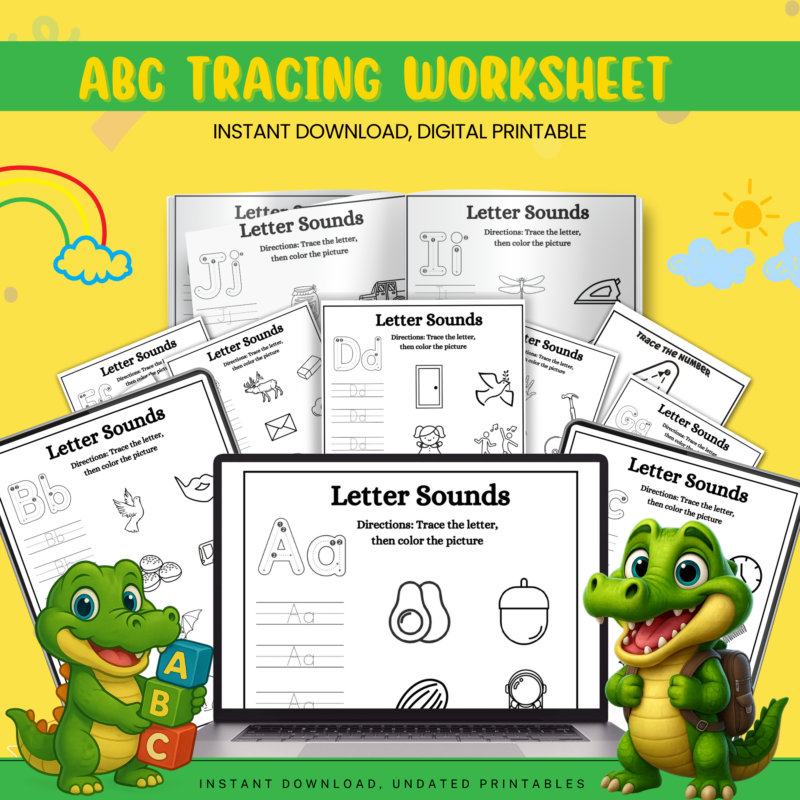
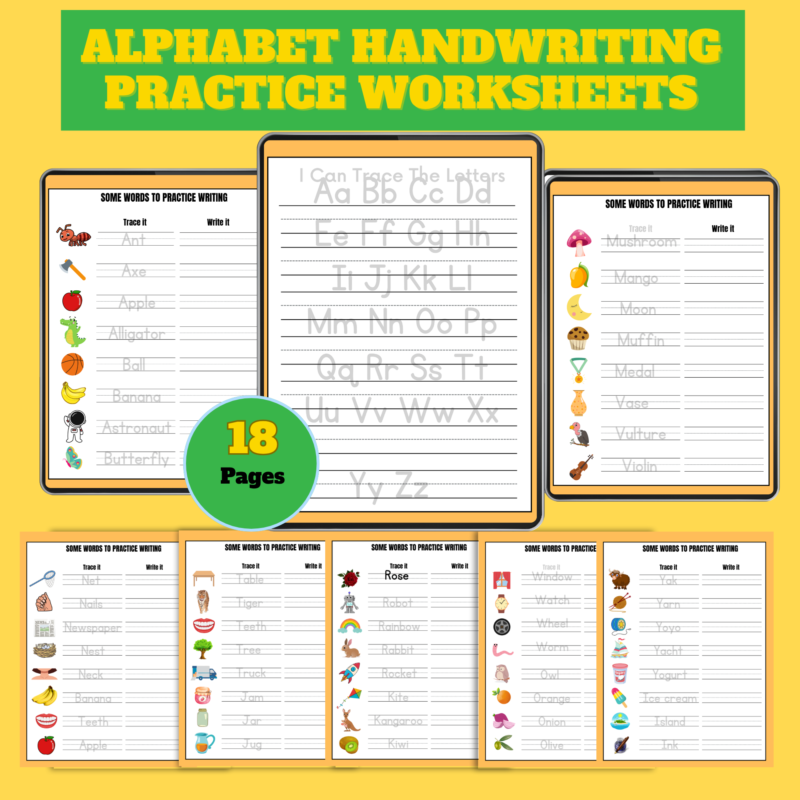
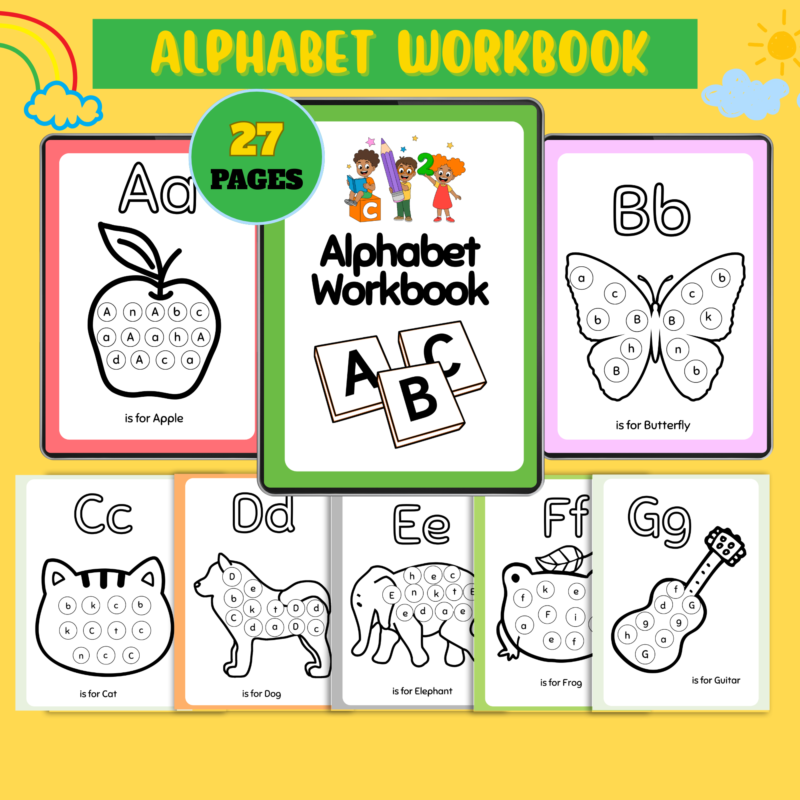
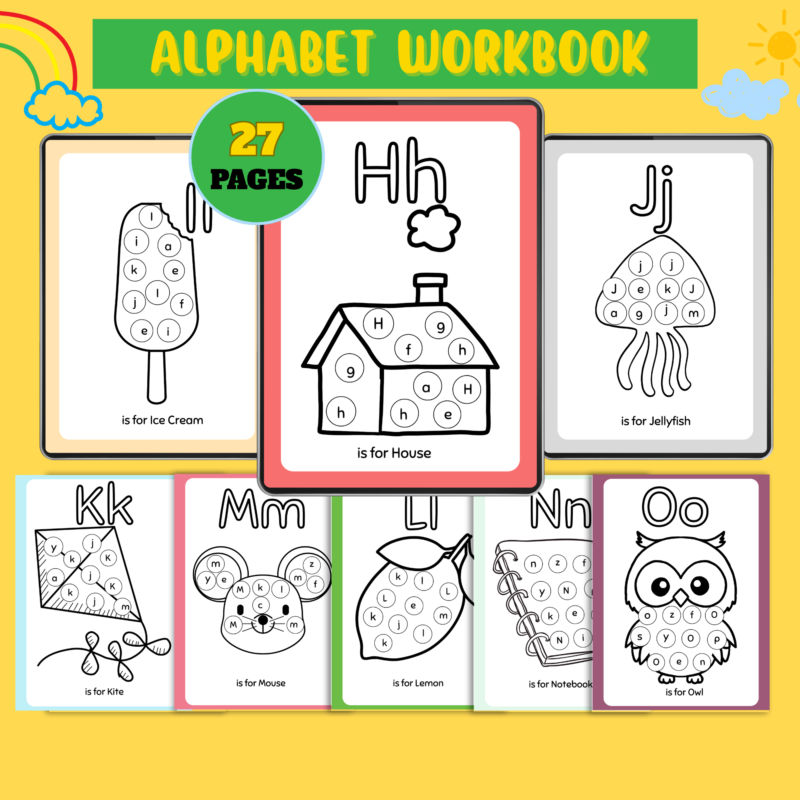
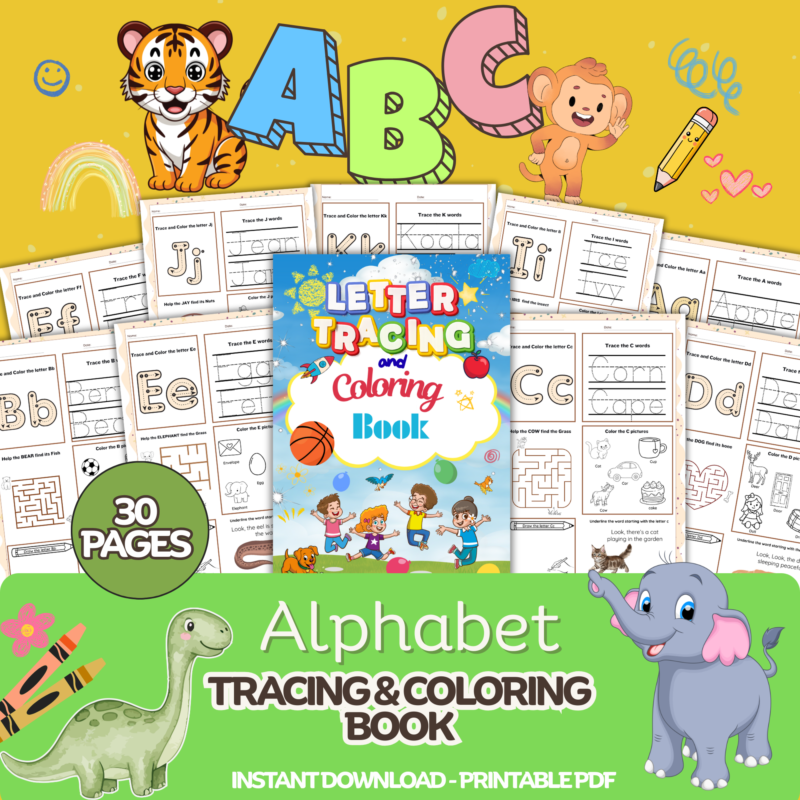
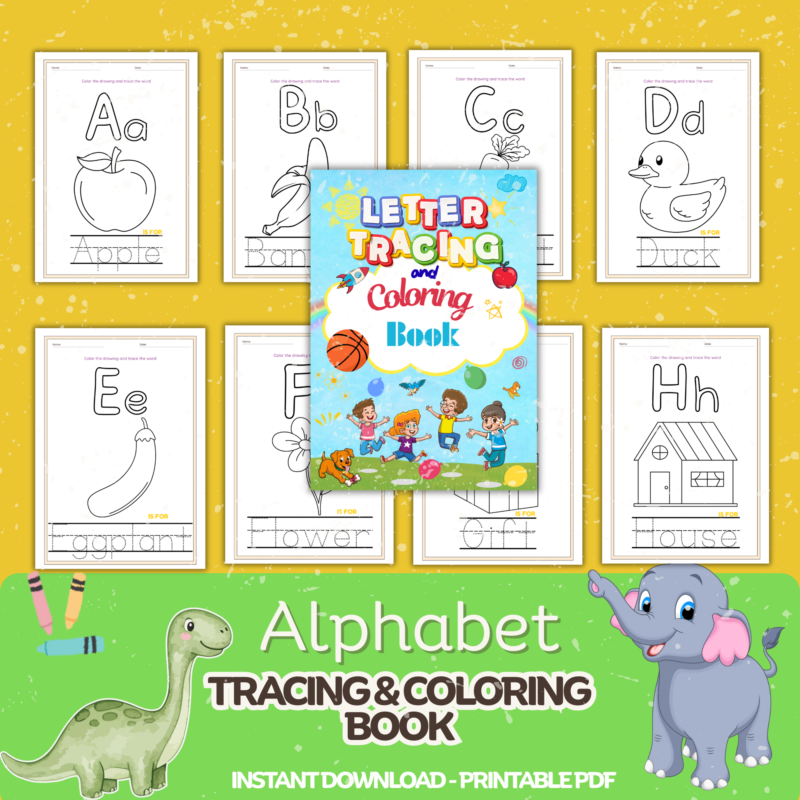
A printable letter formation worksheet can make this progression easy to repeat at home or in a classroom center. Fun Clever Fox worksheets are designed to give young learners clear tracing practice while keeping the page friendly and manageable.
Make Practice Short and Frequent
A few focused minutes usually work better than one long handwriting lesson. For preschoolers, three to five minutes may be plenty. Kindergarteners may be ready for five to ten minutes, especially when activities include variety.
Choose one or two letters at a time. First, say the letter name and sound. Next, model the formation. Let the child trace it a few times, then try one or two independent attempts. Finish with a quick success, such as circling their best letter or finding that letter in a picture book.
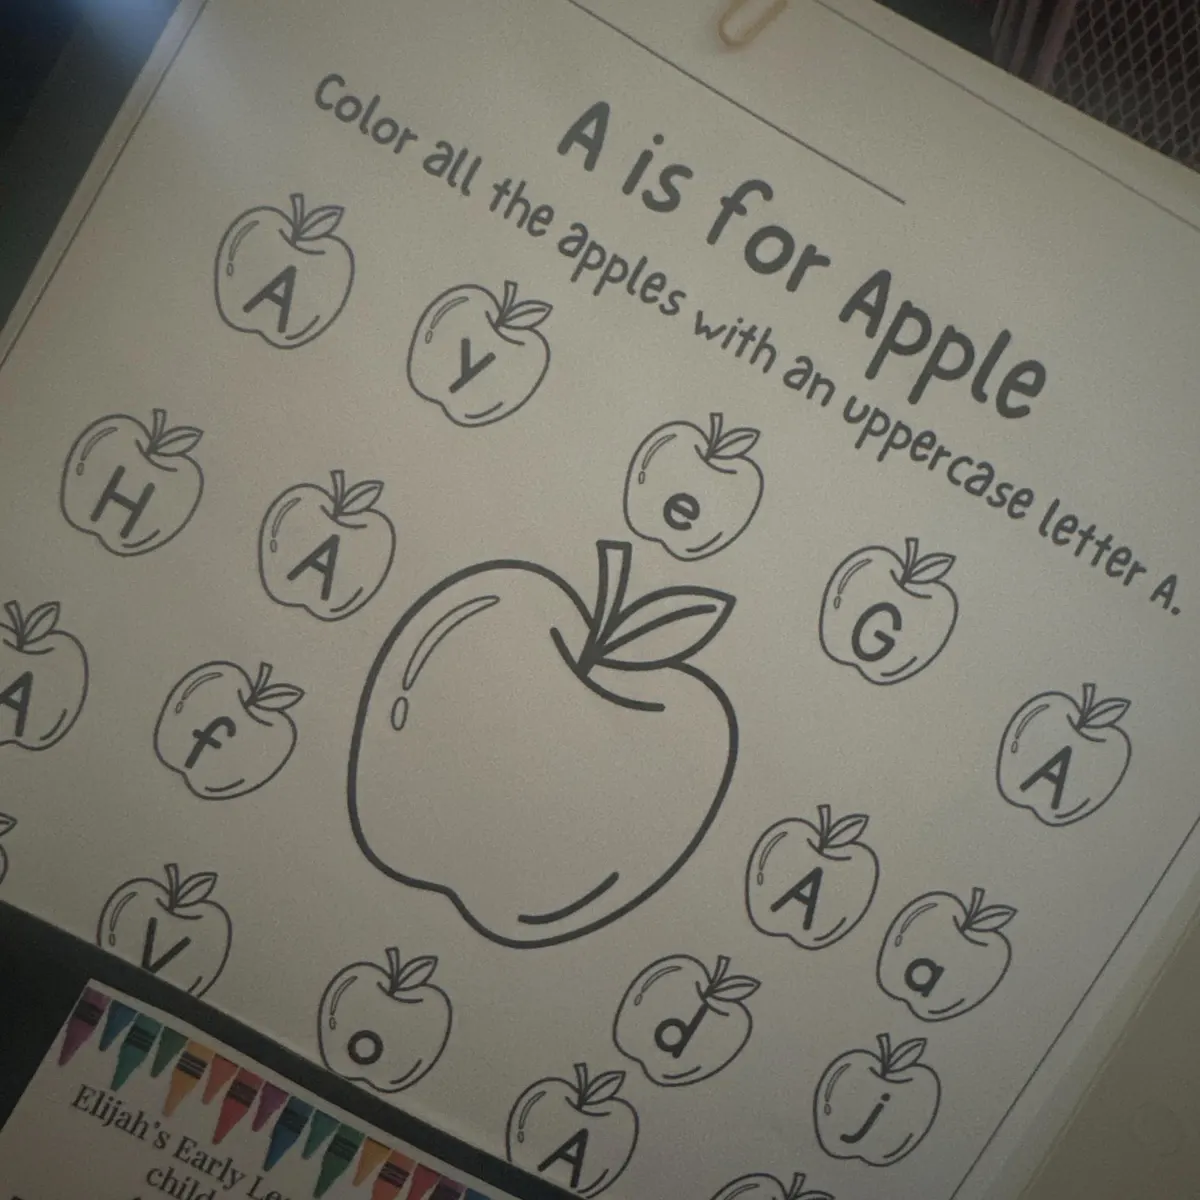
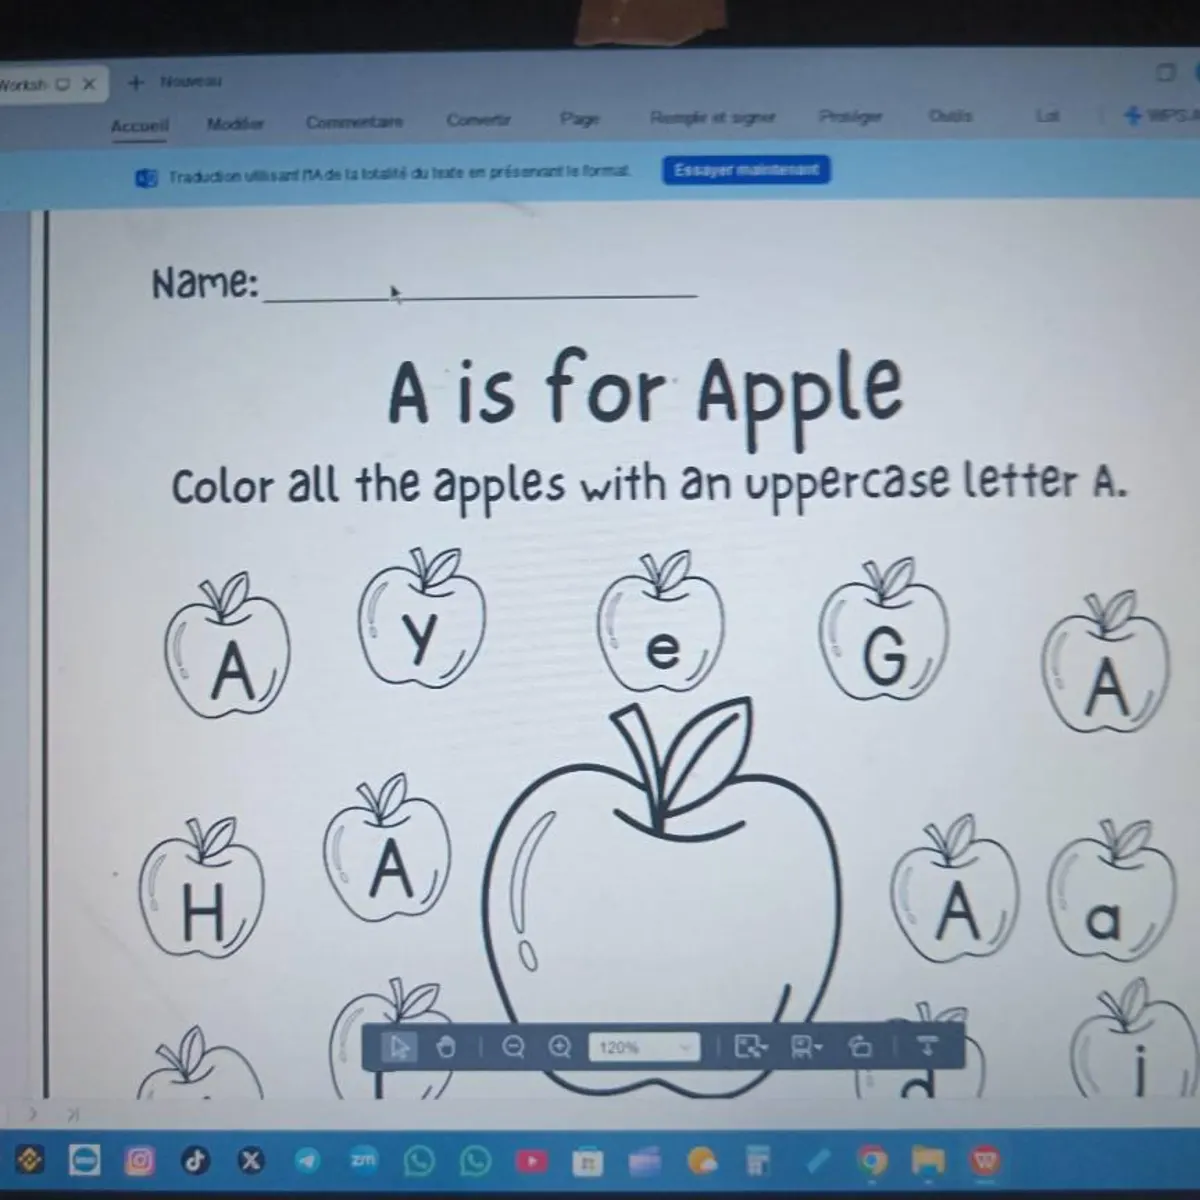
Repeated practice matters, but repeating the same worksheet until a child is bored rarely creates better learning. Change the tool, surface, or game while keeping the formation cue the same. One day, write lowercase a in sand. The next day, trace it on a page. Later, use it to label an apple drawing. The child is still practicing the same skill, but the experience feels fresh.
Teach Correct Direction Without Overcorrecting
It can be tempting to point out every uneven line, backward letter, or shaky curve. But too much correction can make a young writer feel that handwriting is a test they cannot pass.
Focus on one goal at a time. If you are teaching B, your goal might be starting at the top and making a straight line down. Praise that effort first, even if the two bumps are different sizes. Once the child can consistently begin in the right place, you can gently work on the curves.
Try specific encouragement: “You started at the top just like we practiced,” or “I can see you made that big curve go the right way.” Specific feedback tells children what worked and what to repeat.
Letter reversals are also common in early learning. Reversing b and d, or writing a letter backward, does not automatically signal a problem. Many children need time and repeated visual practice to sort out left-right direction. If reversals continue well beyond the early years, occur frequently across many activities, or come with significant frustration, it may be worth discussing with the child’s teacher or pediatric provider.
Support Pencil Grip and Paper Position
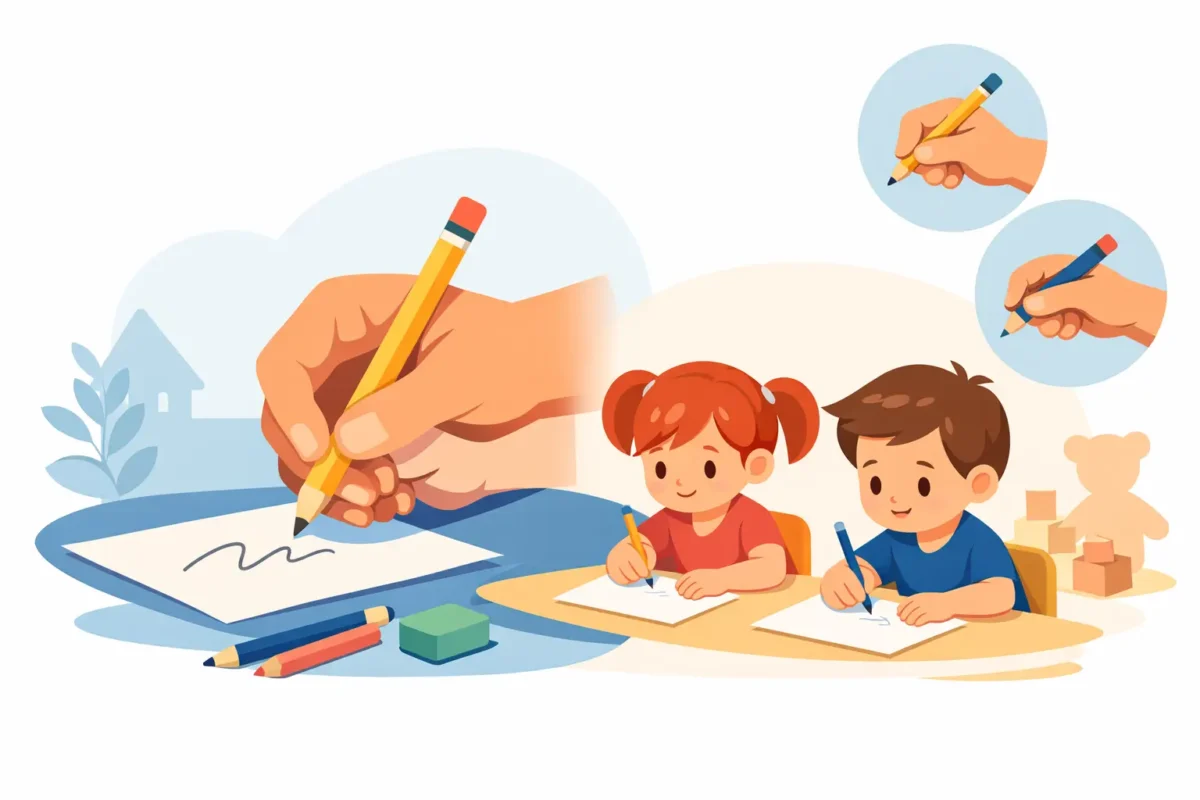
A comfortable grip helps, but it should not become a daily battle. Many children develop a mature three-finger pencil grip over time. Encourage the pencil to rest on the middle finger while the thumb and index finger guide it, but avoid repeatedly repositioning a child’s hand during every stroke.
Paper position can make an immediate difference. Right-handed writers often find it easier to angle the top of the paper slightly to the left. Left-handed writers may prefer the top angled slightly to the right. Keep the nonwriting hand on the paper to hold it steady.
Watch the child’s posture, too. Feet supported on the floor or a stable surface, a table at a workable height, and a chair that allows them to sit upright can reduce fatigue. A child who is sliding, standing, or leaning far over the page may need a quick setup adjustment rather than more reminders to “write neatly.”
Connect Letters to Meaning
Letter formation becomes more motivating when children use letters for a real purpose. Practice the first letter of a child’s name, label a drawing, make place cards for a family meal, or write a simple message for a friend. Pairing handwriting with phonics also strengthens early literacy: say the sound, name a picture that begins with it, then form the letter.
For example, after practicing M, invite children to draw a moon or a mouse and attempt the first sound. The writing may not be perfect, and that is fine. The goal is to show that letters help us share ideas.
Know When to Pause and Try Again Later
Some resistance is simply a sign that the activity is too long, too difficult, or happening at the wrong time of day. If a child is frustrated, offer a movement break, switch to a larger writing surface, or return to a letter they already know well.
Avoid comparing handwriting between siblings or classmates. Children develop at different speeds, and confidence is part of the skill. A child who feels safe making imperfect attempts is far more likely to keep practicing.
The most helpful letter formation routine is one children can return to with a smile. Keep materials ready, celebrate small progress, and let each new letter become one more way for your young learner to say, “I can do this.”